 Blaine
 New-Construction Windows: A Different Job Than Replacement
Homeowners and builders in the Peace Arch area of Blaine sometimes assume window installation is window installation, whether it's a remodel or a home going up from the studs. It isn't. New-construction windows are set before the siding goes on, using a nailing fin that gets integrated directly into the wall's weather-resistive barrier (WRB) and flashing system. There's no existing trim or cladding to work around, but there's also no room for a callback once the siding crew closes up the wall. The flashing has to be right the first time, because it becomes invisible and inaccessible for the next 30-plus years.
That matters more here than in a lot of places. Blaine sits at the northern edge of Whatcom County, right against the Peace Arch border crossing and the open water of Drayton Harbor and Semiahmoo Bay. Homes in this stretch take on a marine climate that's noticeably harder on building materials than inland Whatcom County neighborhoods just a few miles away.
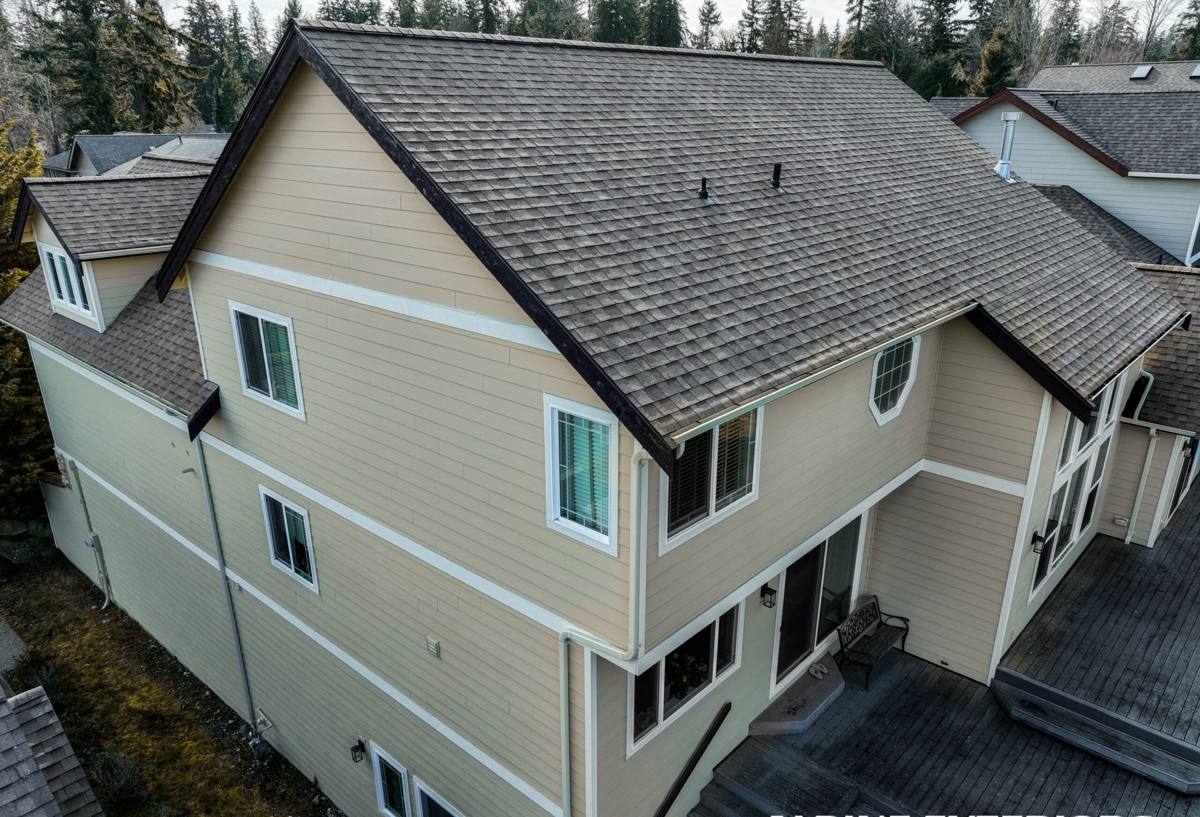
What the Peace Arch Area's Climate Does to Windows Over Time
Three things drive how we approach new-construction window work here: salt air, driving rain, and a moss season that runs longer than most of the state.
Salt Air and Corrosion
Proximity to the water means airborne salt settles on siding, trim, and window hardware. Over years, that accelerates corrosion on unprotected fasteners, cheap cladding, and low-grade hardware. It doesn't ruin a window overnight, but it will find every weak point in the materials and installation over a decade or two.
Driving Rain and Wind-Driven Water
Storms coming off the Salish Sea don't just fall straight down — wind pushes rain sideways into wall assemblies, and new-construction openings are tested by that wind-driven moisture from day one. A flashing detail that would get away with sloppy work in a drier climate gets exposed fast out here.
A Long Moss Season
Extended damp periods mean moss and algae growth isn't limited to a few weeks — it's closer to a year-round condition on north-facing and shaded elevations. Moss holds moisture against surfaces longer than rain alone would, which is why drainage details around window openings matter as much as the window unit itself.
The Flashing Sequence: Where New-Construction Jobs Are Won or Lost
A correctly installed new-construction window is really a sequence of layers working together, not a single product. Skip a layer or install it out of order and water finds a way in — sometimes not for a few years, which is exactly what makes bad new-construction work so costly to discover.
- Rough opening prep — squaring, leveling, and confirming dimensions before the window ever shows up on site.
- Sill pan flashing — a sloped, sealed pan at the bottom of the opening that directs any water that gets past the window back outside the wall, rather than letting it sit on the sill and rot the framing.
- Window set and shim — the unit is set plumb, level, and square, with shims placed so the frame doesn't bow when fasteners are driven.
- Nailing fin fastening — fasteners set per the manufacturer's pattern, not just "enough to hold it," since under-fastening shows up later as air and water infiltration.
- Flashing tape integration — side and head flashing lapped in the correct shingle-style order (sides first, then head) so water always drains down and out over the layer below, never into a seam.
- WRB tie-in — the housewrap is lapped over the head flashing and taped so the whole wall plane sheds water as one continuous system.
- Interior and exterior sealant — a backer rod and sealant joint on the interior, and a drainage gap (never a fully sealed perimeter) on the exterior sill, so any water that does get in has somewhere to go.
Every one of those steps is normal window installation practice anywhere. What changes in a place like Peace Arch is the margin for error. A slightly short head flap or a missed weep path might not show a problem for two or three mild seasons inland — but with wind-driven rain and a near-constant damp season, marginal details get tested every year, not occasionally.
Choosing Materials That Hold Up Near Salt Air
Frame material and hardware grade matter more within a mile or two of the water than they do further inland. We talk through trade-offs honestly rather than pushing whatever's cheapest to install.
| Frame Material | Salt Air / Corrosion Behavior | Maintenance | Typical Cost Position |
|---|---|---|---|
| Vinyl | Won't corrode; UV and heat cycling can affect long-term seal performance | Low — occasional cleaning | Lower |
| Fiberglass | Excellent corrosion resistance, dimensionally stable in temperature and moisture swings | Low | Mid to higher |
| Wood-clad (metal or fiberglass exterior) | Good if cladding and flashing are correctly detailed; failure point is usually the seam where wood meets cladding | Moderate — watch cladding seams | Higher |
| Bare aluminum | Poor near salt air without a quality factory finish; prone to pitting over time | Higher | Varies |
Hardware is just as important as the frame. Stainless or corrosion-rated fasteners and hinge/lock hardware cost a little more up front but avoid the streaking and stiffening that cheaper hardware develops within a few years this close to the water. We also pay attention to exposure — a window on the water-facing or prevailing-wind side of a Peace Arch-area home gets treated differently than one tucked on a sheltered elevation.
Our Process When Working With Builders and Homeowners
On new construction, we're usually one piece of a larger build schedule, so coordination matters as much as the install itself.
Timing
Windows go in after the WRB is up and rough openings are framed and flashed with sill pans, but before siding starts. We confirm the wall assembly (WRB type, sheathing, any rainscreen gap) with the builder ahead of time so our flashing details tie into their system correctly rather than fighting it.
Inspection Points
We check each opening before setting the window — square, level, sill pan condition — and again after flashing is complete, before the WRB and siding cover it up. On a new build, that's the only window anyone gets to catch a problem without tearing into finished wall.
Communication
We flag anything unusual — an opening that's out of square, a WRB detail that doesn't match the window manufacturer's install instructions, a spot where the wind and rain exposure calls for extra flashing width — before it becomes a hidden problem, not after.
Mistakes We Regularly Find on Framing-Stage Jobs
Most water intrusion problems we're called out to diagnose in siding-side Peace Arch homes trace back to one of a handful of installation shortcuts, not the window product itself.
- Head flashing installed under the WRB instead of over it, so water runs behind the housewrap instead of over it
- No sill pan, or a flat sill pan with no slope to drain water back out
- Fully sealed exterior sill perimeter with no weep path, trapping any water that gets past the glazing
- Under-fastened nailing fins that let the frame flex under wind load
- Flashing tape applied to a damp, dusty, or cold surface where it won't actually adhere long-term
- Side flashing lapped over head flashing instead of under it, reversing the shingle-lap water path
None of these are visible once siding goes up. That's exactly why the framing-stage inspection matters more here than a quick glance at the finished exterior ever could.
A Homeowner's or Builder's Checklist for New-Construction Window Installation
- Sill pan flashing installed and sloped, not flat, at every opening
- Flashing tape lapped in correct shingle order: sill, then sides, then head
- WRB properly lapped over head flashing before siding starts
- Fastener pattern matches manufacturer specification, not just "enough to hold it"
- Frame material and hardware rated for coastal/marine exposure if the home faces open water or prevailing wind
- Weep or drainage path left open at the exterior sill — no full bead of sealant trapping water in
- Photos or notes taken of flashing details before siding covers them, for future reference
Why Local Experience in Blaine and the Peace Arch Area Matters
A crew that mostly works drier, inland jobs can install a technically correct window and still miss the details that matter specifically near the water — how much wider to run head flashing on a wind-exposed elevation, which frame materials are worth the upcharge this close to salt air, or where moss and standing moisture will collect on a north-facing wall over the years. Those are judgment calls built from seeing how homes in this specific stretch of Whatcom County actually perform after a few wet seasons, not just how a manual says a window should go in.
For a Peace Arch-area new build, that local knowledge is the difference between a window that just meets code and one that's actually set up to handle what this coastline sends its way for the next few decades.
If you're building or framing a home in the Peace Arch area and want new-construction windows installed correctly the first time, we're happy to come look at the plans or the framed openings and walk through it with you. Reach out for a free, no-pressure estimate using the form below.