 Blaine
 Building New Near Blaine Harbor Changes How Windows Get Installed
When a home is being framed near Blaine Harbor, the windows aren't an afterthought bolted into an existing wall later — they're built into the wall system from the studs out. That's a real advantage if it's done correctly, because the crew setting the windows also controls the flashing, the weather-resistive barrier laps, and the drainage path behind the siding. It's also a real risk if it's done carelessly, because a new-construction install only gets one shot before the wall is closed up and finished. On a site exposed to salt air and driving rain off the water, that first shot needs to be right.
This page is about that one job: installing windows correctly during new construction on a home in or near Blaine Harbor, Whatcom County — not replacing old windows in an already-finished wall, which is a different process with different rules.
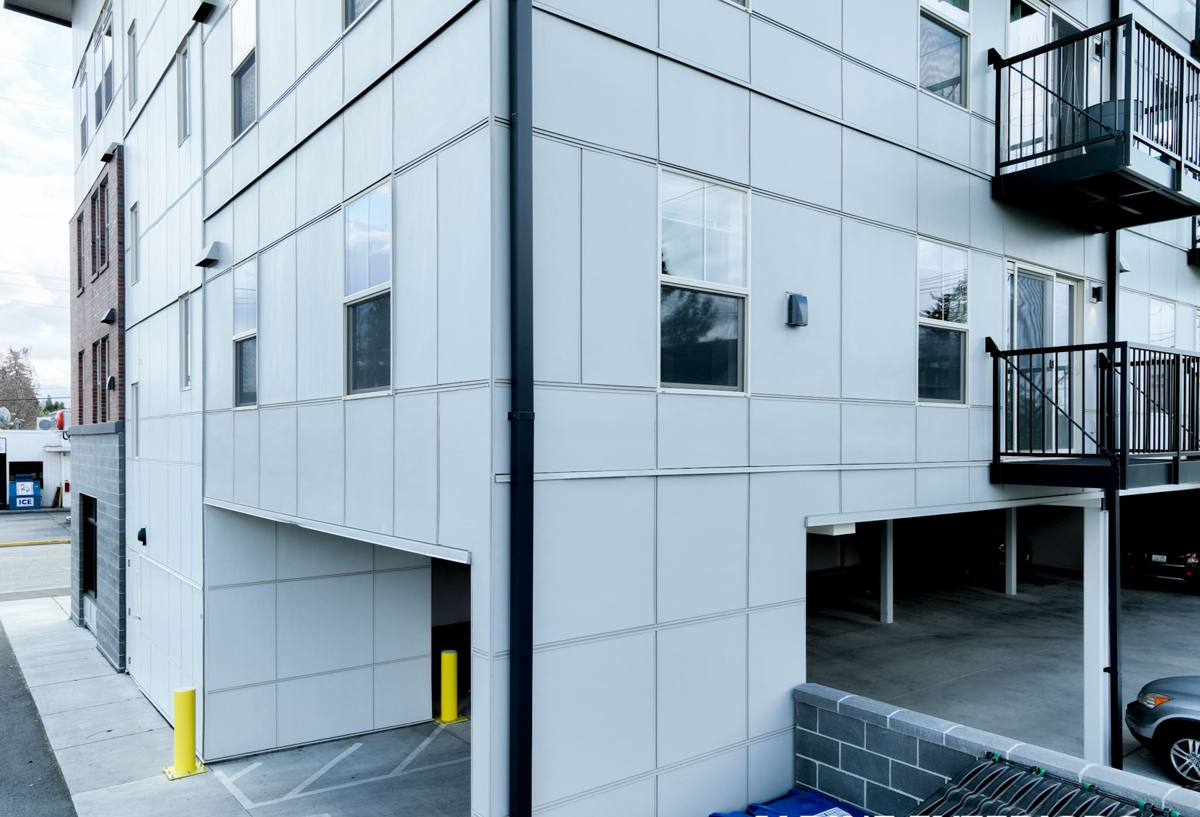
New-Construction vs. Replacement Windows — Why the Distinction Matters
New-construction windows (sometimes called flange or nail-fin windows) have a flange around the perimeter of the frame that gets integrated directly into the house wrap and flashing system during framing, before siding goes on. Replacement windows are built to slide into an existing, already-finished opening without disturbing the surrounding wall. The two require different products, different sequencing, and different skill sets.
On a new build, the window installer isn't just setting glass in an opening — they're building a piece of the wall's water management system. Get the shingle-lap order wrong, skip a sill pan, or reverse a flashing lap, and the mistake gets buried under siding and trim where nobody will see it until there's a stain on drywall two winters later. That's the core reason we treat new-construction window work as a sequencing and flashing job first, and a window-setting job second.
Sizing and Rough Openings Are Not Negotiable
Every window has a manufacturer-specified rough opening tolerance. On new builds we've seen framers cut openings a little generous "to make it easier," which sounds harmless until the extra gap has to be shimmed, sealed, and flashed correctly on all four sides instead of two. A tight, accurate rough opening makes the rest of the install — sill pan, shims, fastening schedule, foam — far easier to get right.
What Blaine Harbor's Climate Actually Demands From a Window System
Blaine sits right on the water, and homes near the harbor take weather that inland Whatcom County properties don't see in the same intensity. Three things matter most for a new-construction window install here:
- Salt air corrosion — airborne salt accelerates corrosion on fasteners, hinges, cranks, and cladding that isn't rated for it. Cheap or uncoated hardware fails faster near the water than it would a few miles inland.
- Driving, wind-driven rain — rain near the harbor doesn't just fall straight down; wind pushes it sideways and up under sills and trim. Flashing details that would be adequate on a sheltered inland lot can leak on an exposed waterfront wall.
- A long moss season — extended damp, low-sun months mean any water that does get behind the cladding has months to sit and do damage before things dry out. Drainage and ventilation behind the window and siding assembly matter as much as keeping water out in the first place.
None of this means a home near Blaine Harbor needs exotic materials. It means the ordinary details — flashing laps, drainage gaps, fastener choice — have to be done correctly every time, because there's less margin for error than on a more sheltered site.
Choosing a Frame Material for This Location
Frame material choice is usually driven by budget and the builder's plans, but on a waterfront lot it's worth understanding the trade-offs specific to salt air and moisture exposure.
| Frame Material | Salt Air / Corrosion Resistance | Maintenance | Relative Cost |
|---|---|---|---|
| Vinyl | Good — won't corrode, but hardware and reinforcement still need to be checked | Low — no painting, occasional cleaning | Lower |
| Fiberglass | Very good — dimensionally stable, resists pitting and salt damage well | Low | Mid to higher |
| Aluminum-clad wood | Good exterior protection if cladding and seals are intact; wood core needs the cladding to stay sealed | Moderate — depends on cladding integrity over time | Higher |
| Bare (uncoated) aluminum | Weakest choice this close to the water — prone to pitting and corrosion without a quality finish | Higher | Varies |
Whatever frame material a homeowner or builder chooses, we pay close attention to the hardware — hinges, cranks, locks, and fasteners — since that's often where salt-air corrosion shows up first, regardless of what the frame itself is made of.
The Flashing Details That Make or Break a New-Construction Install
Most window leaks in new construction don't come from the window itself — they come from the flashing sequence around it. On a Blaine Harbor build, we treat this as the most important part of the job:
- Sill pan first. A sloped sill pan with end dams directs any water that gets past the window back out, rather than letting it pool on the rough sill and soak into framing.
- Window set to the manufacturer's method. Whether that's a fully bedded flange, a specific sealant pattern, or mechanical fastening only — we follow the manufacturer's published instructions, since that's also what keeps the product warranty intact.
- Jamb flashing next, over the flange sides. This ties the window into the drainage plane on both sides before the top is closed off.
- Head flashing last, lapped over the house wrap above. Water has to be directed down and out over the wrap below it, never up underneath it — this single lap direction is the difference between a dry wall and a hidden leak.
- Sealant used where it belongs, not as a substitute for correct lapping. Caulk fails eventually; a properly lapped flashing system doesn't depend on it to keep water out.
Skipping or reversing any one of these steps is exactly the kind of mistake that stays invisible until siding, trim, and drywall are already in place — which is why we don't treat this as a step to move quickly through on a schedule-driven new build.
How We Sequence Window Installs on a New Build
Window installation on new construction isn't a standalone task — it has to line up with framing, house wrap, and siding schedules. We coordinate with the framer and, where we're not doing the siding ourselves, with the siding crew, so nobody's work undoes someone else's flashing.
We also pay attention to timing given the local weather pattern. An open rough opening or exposed house wrap sitting unprotected through a stretch of driving rain is asking for trouble, so where a project stalls mid-sequence — waiting on materials or another trade — we make sure openings are temporarily weatherproofed rather than left exposed.
Energy Code and Performance Considerations in Whatcom County
Washington's state energy code sets minimum performance requirements for new-construction windows, covering things like U-factor (how well the window resists heat loss) and solar heat gain. In a cool, wet, marine climate like Blaine's, it's worth discussing glass upgrades — low-E coatings and argon-filled dual panes are standard on most new-construction windows now and pay off in comfort near a home's colder, wind-exposed walls, not just on a utility bill.
Safety glazing (tempered glass) is also required in specific locations under building code — near doors, low sills, stairs, and wet areas — and that requirement doesn't change based on location, so it's confirmed as part of planning the window package regardless of where in Whatcom County the home sits.
Our New-Construction Window Process
A correct install follows the same core steps every time, regardless of window brand or frame material:
- Verify rough openings against the window manufacturer's specified tolerances before any window arrives on site
- Install sloped sill pans with end dams at every opening
- Set windows level, plumb, and square, fastened per the manufacturer's schedule
- Integrate jamb and head flashing with the house wrap in the correct shingle-lap order
- Fill the perimeter gap with low-expansion foam suited for window applications — never standard high-expansion foam that can bow the frame
- Apply interior and exterior sealant only where the manufacturer specifies it
- Walk every opening with a punch list before siding closes it up for good
Why a Crew That Already Works Blaine Harbor Matters
Working new-construction sites near Blaine Harbor over time teaches you things a general checklist doesn't cover — which wall orientations catch the worst wind-driven rain, how quickly salt air corrosion shows up on hardware that isn't rated for it, and how much longer a wall assembly stays damp during Whatcom County's moss season compared to a drier inland site. That local experience shapes decisions on the small details — flashing laps, fastener choice, drainage gaps — that a crew unfamiliar with the harbor's exposure might treat as optional.
It also means smoother coordination with the other trades already working these builds, since scheduling and sequencing on a waterfront lot often has less room for error than on a sheltered site inland.
If you're building near Blaine Harbor and want new-construction windows installed right the first time, we're happy to walk the plans and give a free, no-pressure estimate — just fill out the form below.