 Blaine
 Building New in Cherry Point Means Building for the Weather You Actually Have
Cherry Point sits close enough to the water that every new home going up here has to answer to the same three things: salt-laden air, wind-driven rain that comes in sideways off the Strait, and a moss season that runs longer than most homeowners expect. None of that is a problem if the windows go in correctly the first time. All of it becomes a problem if they don't. New-construction window installation is the one point in a build where you have full access to the rough opening, the house wrap, and the flashing plane before siding closes it all up. Get it right here and you won't be chasing leaks in year three.
This page is specifically about new-construction window installs for homes being built in and around Cherry Point — not window replacement in an existing wall, which is a different job with different rules. If you're building new in this part of Whatcom County, this is what a correct install looks like and why the crew you hire for it matters as much as the windows themselves.
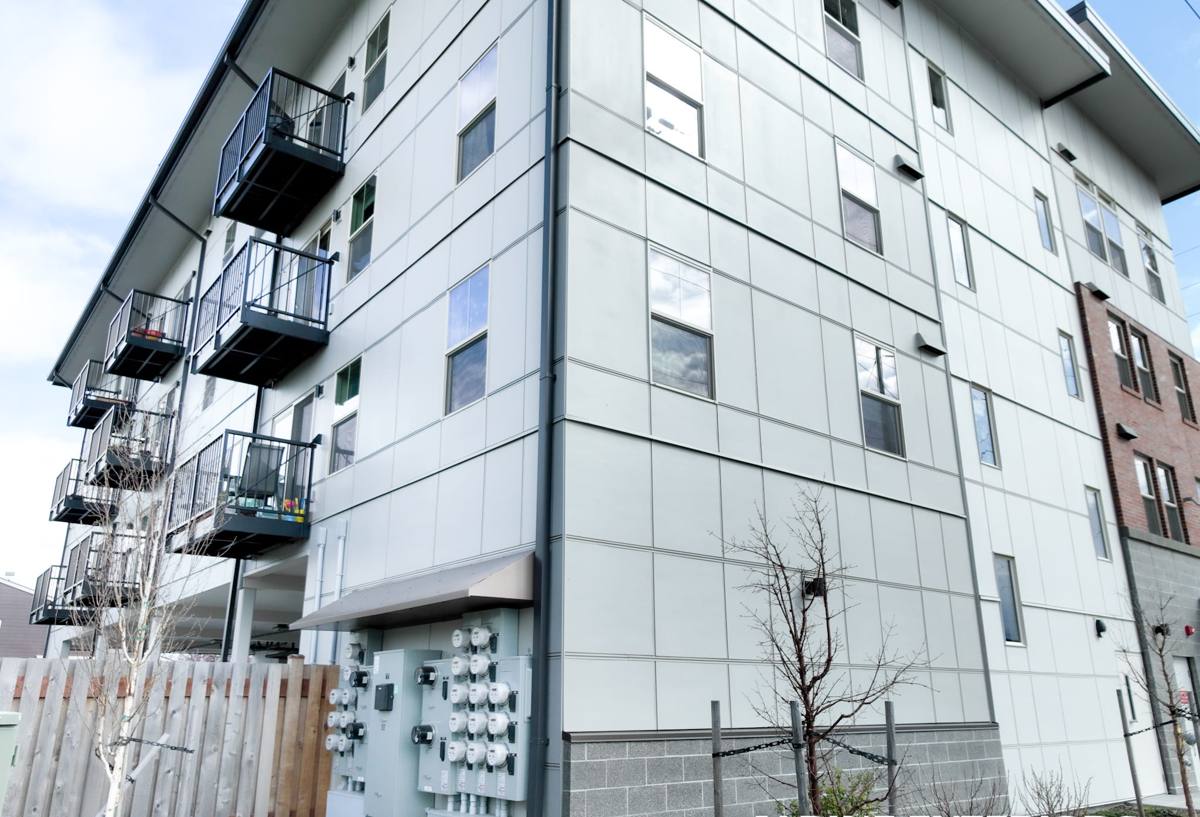
What New-Construction Windows Are (and Why the Nail Fin Matters)
New-construction windows come with a nailing fin around the perimeter of the frame. That fin gets fastened directly to the sheathing, then integrated into the water-resistive barrier and flashing system before trim and siding go on. This is different from a pocket or replacement window, which slides into an existing frame with no direct fin attachment to the structure.
The advantage of a true new-construction install is that it lets us build a water management system in layers, from the sill up, before anything is buttoned up. In a coastal-influenced area like Cherry Point, that layering isn't optional — it's the difference between a window that sheds wind-driven rain for thirty years and one that starts showing staining or soft trim within a few winters.
The Layers That Actually Keep Water Out
- Sill pan flashing, sloped to drain outward, installed before the window ever touches the opening
- Jamb flashing that laps over the sill pan, never under it
- Head flashing with a drip cap, installed last so it laps over the house wrap above
- Correct shingle-style overlap at every seam — always working from the bottom up
- Sealant used as a backup to mechanical flashing, never as a substitute for it
Salt Air, Driving Rain, and Moss: What They Do to a Window Opening
Salt air accelerates corrosion on exposed fasteners and lower-grade hardware, which is why fastener choice and flashing tape compatibility matter more here than in an inland build. Driving rain finds any gap in the flashing plane, especially at the head and sill corners, and it doesn't take much wind to push water uphill past a poorly lapped joint. Moss and algae growth on north- and west-facing walls holds moisture against trim and siding for longer stretches of the year, which is exactly where deferred maintenance turns into rot if the flashing underneath wasn't done right in the first place.
None of these are exotic problems. They're just the normal cost of building close to the water in this part of Washington, and they're fully manageable with a correct install and materials rated for the exposure.
Frame Material: What Actually Holds Up Near Cherry Point
There's no single "best" window frame material — there's the right material for the exposure, budget, and maintenance appetite of the homeowner. Here's how the common options actually perform in a marine-influenced climate like this one.
| Frame Material | Moisture/Salt Performance | Maintenance | Best Fit |
|---|---|---|---|
| Vinyl | Good — won't rot or corrode; UV-stable vinyl holds color well | Low — occasional cleaning | Budget-conscious builds, rental units, secondary structures |
| Fiberglass | Excellent — dimensionally stable, doesn't expand/contract with salt-air humidity swings | Low | Full-time coastal exposure, higher-end new builds |
| Aluminum-clad wood | Good exterior protection, but any breach in the cladding exposes wood to moisture | Moderate — cladding seams need periodic inspection | Homeowners who want a wood interior look with exterior protection |
| Bare wood | Poor without diligent upkeep in this climate | High — regular refinishing required | We don't recommend it for direct coastal exposure without a covered elevation |
We'll spec what fits the house and the budget, but we're upfront when a material choice is going to create a maintenance burden the homeowner isn't expecting. Bare wood on an exposed, weather-facing wall near Cherry Point is the kind of decision we'll flag before it's built in, not after.
Glass Package: The Number That Actually Matters
Low-E coatings and argon fill are standard on almost every new-construction window sold today, so the marketing language matters less than the actual U-factor and Solar Heat Gain Coefficient (SHGC) printed on the NFRC label. For this climate — mild but consistently damp, without extreme heat — a lower U-factor (better insulating value) generally matters more than an aggressive SHGC rating. We size glass packages to orientation: west- and water-facing openings get different treatment than sheltered elevations.
How We Handle the Job on a Cherry Point Build
New-construction window installation happens at a specific point in the build sequence, and doing it out of order is one of the most common ways water problems get built into a house. Here's the order we follow and why each step matters.
- Rough opening check. We verify every opening is square, level, and sized correctly before a window ever arrives on site — catching a framing error now costs nothing; catching it after siding is on costs real money.
- Sill pan flashing. Installed and sloped before the window goes in, so any water that ever gets past the window has somewhere to go besides your wall cavity.
- Window set and shim. Set to manufacturer specs, shimmed correctly so the frame isn't racked or bowed, which affects both operation and long-term seal integrity.
- Jamb and head flashing. Integrated with the house wrap in proper shingle-lap order — this is the step that most often gets rushed on other jobs, and it's the one that fails first.
- Fastening. Corrosion-resistant fasteners appropriate for coastal exposure, spaced per manufacturer requirements to preserve any warranty.
- Interior and exterior seal. Insulated at the frame gap, sealed at the interior and exterior trim lines as a backup layer — not the primary defense.
- Final inspection. Operation check, visual flashing check, and photo documentation of the flashing layers before siding closes the wall.
Mistakes We See When We're Called In to Fix Someone Else's Work
We don't take shots at other trades, but we do see the same handful of issues repeatedly on new builds where window install got rushed or handled by whoever was fastest, not most careful:
- Flashing installed in the wrong order (head flashing under the house wrap instead of over it)
- Sealant used in place of a sill pan instead of alongside one
- Fasteners that aren't rated for the corrosion exposure this close to the water
- Windows set without checking the rough opening for square, leading to operational problems later
- No documentation of flashing before the wall was closed up, making warranty claims harder to support
Every one of these is preventable with a careful, in-order install. None of them show up as a problem on install day — they show up two, five, or ten winters later, which is exactly why the quality of the install matters more than how the window looks on the day it goes in.
Cost Factors for New-Construction Window Installation
Pricing depends on window count, frame material, glass package, and opening complexity. Broad factors that move the number, high or low:
| Factor | Effect on Cost |
|---|---|
| Frame material (vinyl vs. fiberglass vs. clad wood) | Fiberglass and clad options run higher than vinyl |
| Glass package upgrades | Higher-performance low-E/argon packages add cost per unit |
| Number and size of openings | Larger and non-standard sizes cost more per unit |
| Elevation exposure | West- and water-facing walls may warrant upgraded flashing details |
| Site access and build phase timing | Coordinating with the framing schedule affects labor efficiency |
We give straightforward, itemized estimates rather than a single lump number, so you can see what's driving the cost and where there's room to adjust without cutting corners on the water management side.
Why a Crew That Already Works Cherry Point Is Worth Something
New-construction window installation isn't complicated in theory, but it's unforgiving of shortcuts in a climate that gets regular driving rain and sustained salt exposure. A crew that already works this area knows which elevations on a Cherry Point lot tend to take the worst weather, which fastener and flashing tape combinations hold up long-term in salt air, and how to sequence the install so it doesn't fight the rest of the build schedule. That's not something you get from a crew that mostly works drier, inland jobs and treats every coastal build the same as an inland one.
We're based in Blaine and do this work throughout Whatcom County's coastal areas, including Cherry Point. We're not guessing at what this climate does to a building envelope — we see it on callbacks from other people's work, and we build to avoid being the ones who get that call.
If you're building new near Cherry Point and want your windows installed right the first time, we're happy to walk the plans or the site with you. Use the form below for a free, no-pressure estimate.