 Blaine
 New-Construction Windows vs. Replacement: Why the Difference Matters
"New-construction windows" refers to a specific installation method, not just a window that happens to be going into a new house. A new-construction window has a nailing fin (or flange) around its perimeter that gets fastened directly to the wall sheathing and integrated with the weather-resistive barrier (WRB) before siding goes on. This is different from a replacement or "pocket" window, which gets inserted into an existing frame with no access to the sheathing or house wrap behind it.
For a new build or a full exterior remodel in Ferndale, the nailing-fin method is almost always the right call, because it lets us build a proper drainage plane around every opening instead of relying on a window that was designed to fit inside an old one. Get this step wrong, and the mistake gets buried behind siding for the next 20-30 years.
Why This Matters More in Ferndale Than in Drier Climates
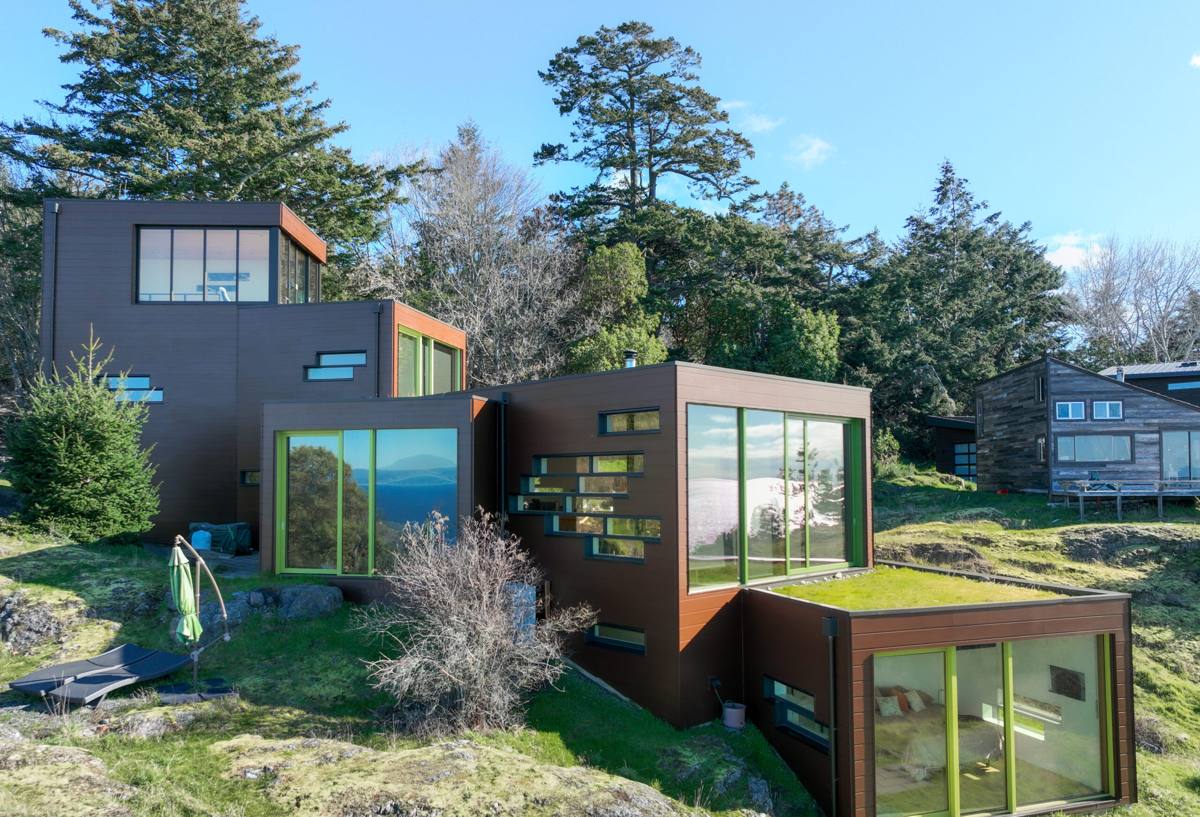
Ferndale sits in Whatcom County, close enough to the Salish Sea and the Nooksack delta that homes here deal with a specific combination of exposures: salt-laden air, driving wind-driven rain off the water, and a long moss season where surfaces stay damp for months at a stretch. None of that is dramatic on any single day, but it adds up over years in a way that punishes a shortcut installation.
Driving rain in particular is the reason window flashing detail matters so much here. In a lot of the country, water hits a wall mostly straight-on and sheds down. In Whatcom County's wind events, rain gets pushed sideways and even slightly upward into wall assemblies, which means an installation that relies on caulk alone — rather than shingled, lapped flashing — will eventually let water behind the window trim. Salt air accelerates corrosion on fasteners and hardware that aren't rated for it, and the region's long wet season means anything that traps moisture instead of draining it has months to do damage before it ever dries out.
What Homes in This Area Actually Experience
- Extended stretches of low-intensity rain rather than isolated heavy storms — moisture exposure is about duration, not just volume
- Periodic wind-driven rain events that push water sideways against west- and southwest-facing walls
- Salt air influence from proximity to Puget Sound/the Strait of Georgia, which affects metal flashing, fasteners, and hardware finishes
- A moss and algae season that runs long on north-facing and shaded elevations, holding surface moisture against trim and siding
What a Correct New-Construction Window Install Actually Involves
The window itself is often the easy part. The install sequence around it is where quality is won or lost. A correct installation, done in the right order, looks like this:
- Rough opening prep — checking the opening is square, level, and sized correctly before the window ever shows up on site.
- Sill pan flashing — a sloped, sealed pan at the bottom of the opening so any water that does get past the window has a way to drain back out to the exterior instead of pooling on the sheathing.
- Window-to-WRB integration — the house wrap or building paper is lapped and taped so water is shingled downward and outward at every seam, with the window flanges tucked in properly at the sides and top.
- Fastening — nailing fins fastened per the manufacturer's schedule, using fasteners appropriate for coastal/salt-air exposure where called for.
- Flashing tape and sealant at the flanges — used as a backup layer, not the primary defense. Caulk that's expected to do all the work on its own is a common point of failure.
- Head flashing — a drip cap or integrated flashing above the window that directs water around the opening rather than down onto it.
- Interior air-sealing — sealing the gap between the window frame and rough opening for energy performance, separate from the exterior weatherproofing.
Skip or reorder any of these steps and the window can look fine for years while a slow leak works its way into the wall assembly behind it — which is exactly the kind of damage that's expensive to find and expensive to fix once siding is already up.
Window Materials: What We Weigh for This Climate
Frame material affects how well a window holds up to sustained damp conditions and salt-influenced air over decades, not just how it performs on day one. There's no single "best" choice for every project — it depends on budget, exposure, and what the rest of the home's exterior is doing.
| Frame Material | Moisture/Salt-Air Behavior | Maintenance | Typical Fit |
|---|---|---|---|
| Vinyl | Won't corrode or rot; performs well with good installation | Low — occasional cleaning | Budget-conscious builds, most residential new construction |
| Fiberglass | Very stable in wet/salt-influenced conditions; low expansion/contraction | Low | Higher-end new builds, exposed elevations |
| Wood-clad | Interior wood needs the cladding and seals intact to avoid moisture intrusion | Higher — cladding seams need monitoring over time | Homes prioritizing a specific interior wood look |
| Aluminum | Prone to corrosion in salt-influenced air without proper coatings | Moderate | Limited residential use in this region; we're selective here |
We're not going to tell a homeowner one brand or material is "bad" — but we will be honest that in a coastal-influenced, high-moisture climate like Whatcom County's, some materials require more diligence around seals and finish maintenance than others. That's a trade-off worth discussing before you order windows for a build, not after.
Energy Code Considerations
Washington's energy code sets U-factor and performance requirements for new-construction fenestration, and those requirements get checked at inspection. We spec windows that meet current code for the project's climate zone rather than guessing, and we coordinate documentation so it's ready when the building department asks for it.
How Our Process Works on a Ferndale Build
New-construction window work happens on a schedule that's dictated by the framing and dry-in sequence, so coordination matters as much as the install itself.
- Early coordination — we review window schedules and rough opening sizes against the plans before framing is finalized, catching sizing conflicts early instead of at delivery.
- WRB timing — we install alongside (or right after) the weather-resistive barrier goes on, so flashing gets integrated in the correct order rather than patched in afterward.
- Inspection-ready documentation — flashing and sealing done to a standard that holds up to a building inspector's walkthrough, with photos taken before siding covers the work.
- Clean handoff to siding — window trim and flashing details set up so the siding crew (us or another trade) can lap correctly over them without improvising.
We work directly with builders and general contractors as well as homeowners managing their own new build, and we keep the schedule tight enough that window installation doesn't become the bottleneck holding up dry-in.
Mistakes We See When We're Called in Mid-Build
Most of the repeat problems we run into on new builds in this area trace back to a handful of shortcuts:
- House wrap stapled around a window opening instead of cut, folded, and taped in a proper shingled sequence
- No sill pan flashing, leaving the sheathing directly exposed to any water that gets past the window
- Caulk used as the sole seal at the nailing fin with no flashing tape backup
- Missing or undersized head flashing above the window
- Fasteners that aren't appropriate for a salt-influenced coastal environment
Individually, each of these might not cause a visible problem right away. Combined with a long wet season and driving rain, they're the kind of details that turn into moisture damage discovered years later — usually during a siding replacement, which is often how homeowners find out.
A Practical Checklist Before Windows Go In
- Rough openings confirmed square, level, and correctly sized against the window schedule
- Sill pan flashing installed and sloped to drain outward
- WRB lapped and taped in proper shingle order at the opening
- Head flashing or drip cap specified above every window
- Fastener type confirmed appropriate for coastal exposure
- U-factor and energy code compliance documented for inspection
- Photos taken of flashing details before siding covers the opening
Why a Crew That Already Works in Ferndale Is Worth It
New-construction window installation isn't complicated in theory, but getting the sequencing and flashing details right consistently comes from doing it repeatedly in the conditions the home will actually face. A crew that regularly works Whatcom County builds already accounts for driving rain exposure, salt-air fastener choices, and the long moss season that keeps north-facing walls damp — it's not something we're figuring out for the first time on your project. We also know the coordination rhythm builders in this area expect: showing up on schedule with framing, not holding up dry-in, and leaving flashing details clean enough that the next trade can build on top of them without questions.
Get a Free Estimate
If you're planning a new build or major addition in Ferndale and need window installation coordinated with your framing and siding schedule, we're glad to take a look at your plans and walk the site. There's no pressure and no cost to get an estimate — just a straight answer on scope, timing, and what the job will take.