 Blaine
 Building New in Grandview? Get the Windows Right the First Time
New construction is the one chance to install windows correctly from the start, with no old flashing, no rotted sheathing, and no compromises forced by an existing wall assembly. That's a real advantage over a replacement job, but it only pays off if the crew setting those windows understands what a Whatcom County exterior wall actually has to survive. Grandview sits close enough to the water and open farmland that homes here take a steady diet of salt-laden air, wind-driven rain, and the long gray stretch of moss season that runs from fall through spring. Windows installed without that context in mind tend to show problems within a few years — moss creeping into frame corners, seals that failed under sideways rain, or hardware that corroded faster than it should have.
This page covers what new-construction window installation should look like for a Grandview home specifically: the climate demands, the install sequence that actually keeps water out, the material tradeoffs worth understanding, and why hiring a crew that already works this area matters more than it might seem.
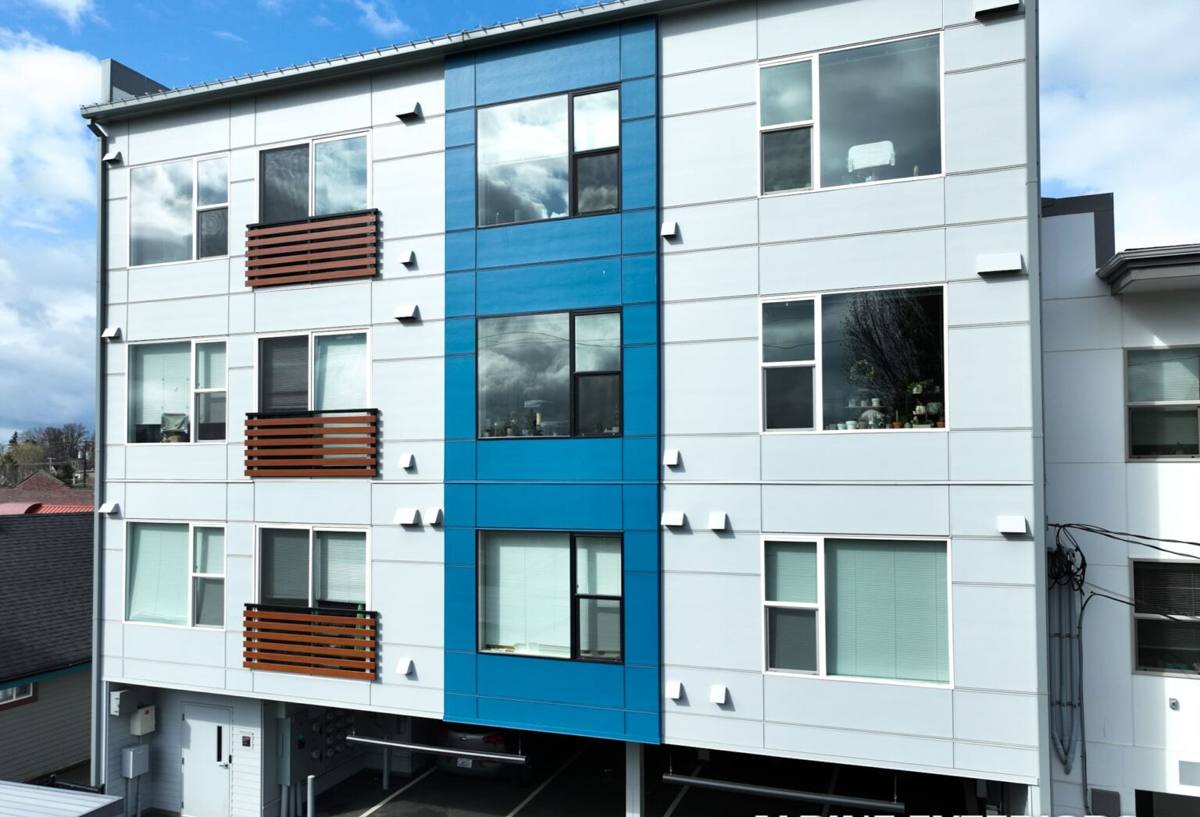
What the Grandview Climate Actually Does to a New Window
Salt Air
Proximity to Semiahmoo Bay and the Strait of Georgia means airborne salt is a real factor here, even a few miles inland. Salt accelerates corrosion on exposed hardware — hinges, cranks, locks, and any fasteners left uncapped. It also degrades certain finishes and sealant formulations faster than manufacturers' generic warranty language assumes, which is why hardware and sealant selection matter as much as the window unit itself.
Driving Rain
Blaine gets rain that doesn't fall straight down. Wind off the water pushes it sideways into wall assemblies, which means a window's water management can't rely on gravity alone. The flashing details, sill pan, and house wrap integration have to actively shed water that's being driven horizontally and even slightly upward under gusts.
Moss Season
Whatcom County's long wet, mild stretch supports heavy moss and algae growth on anything that stays damp and shaded. On new construction, that shows up in window frame corners, under sills, and in any gap where organic debris and moisture can sit undisturbed. Correct sill slope and drainage gaps aren't cosmetic details — they're what keeps moss from getting a foothold in the first place.
New-Construction Windows vs. Replacement: Why the Sequence Matters
New-construction windows use a nailing flange that fastens directly to the wall sheathing before siding goes on, which lets us integrate the window into the water-resistive barrier as one continuous system. Replacement windows, by contrast, get inserted into an existing opening with far less access to the surrounding wall. Both approaches have their place, but for a Grandview new build, the flanged approach done correctly gives the best long-term protection against this area's driving rain — provided the sequencing is followed exactly, not shortcut.
- Rough opening prepped and checked square, level, and to correct dimension before any window arrives on site
- Sill pan flashing installed first, sloped to drain outward, never flat or back-pitched
- Window set, shimmed, and fastened per manufacturer spec — not just "close enough"
- Flanges integrated with house wrap in correct shingle-lap order (weather barrier over the top flange, under the side and sill flanges)
- Sealants matched to substrate and rated for this climate's UV and moisture cycling
- Interior air sealing done separately from exterior water sealing — they're not the same job
What a Correct Installation Involves, Step by Step
A window that leaks in three years almost never fails because the unit itself was bad. It fails because one step in the sequence above got skipped or rushed. On a Grandview job we treat the flashing and sealing sequence as non-negotiable, in this order:
- Opening inspection — verify framing dimensions match window specs before install day, catching problems while they're cheap to fix
- Sill pan — a sloped, sealed pan that carries any water that gets past the window straight back outside
- Window placement — set plumb, level, and square, shimmed at manufacturer-specified points to avoid frame distortion
- Flange fastening — correct fastener type and spacing, driven straight to avoid puncturing the flange
- Flashing tape and house wrap integration — layered so every course sheds water onto the one below it, never trapping moisture behind the cladding
- Exterior sealant — applied at the right joints only; over-sealing can trap water just as badly as under-sealing
- Interior air seal and insulation — low-expansion foam or backer rod, sized to the gap so the frame isn't bowed
Frame Material: What Actually Holds Up Near the Water
Every frame material has tradeoffs, and the right call depends on the home's design, budget, and how exposed the elevation is to prevailing wind and rain. We'll walk through the actual tradeoffs rather than push one product line.
| Frame Material | Salt Air Behavior | Maintenance | Notes for Grandview |
|---|---|---|---|
| Vinyl | Does not corrode; UV-stable formulations hold color well | Low — occasional cleaning | Solid, cost-effective choice for most elevations; verify weld quality at corners |
| Fiberglass | Excellent — dimensionally stable, resists salt and moisture cycling | Low | Strong option for the most exposed, water-facing walls |
| Wood-clad | Clad exterior protects wood, but any breach in the cladding invites rot | Higher — cladding seams need periodic inspection | Best reserved for sheltered elevations away from direct driving rain |
| Aluminum | Prone to corrosion in salt air unless properly finished | Moderate | We're selective about where aluminum-frame products go on coastal builds |
Hardware is worth the same scrutiny as the frame. Cranks, hinges, and locks in lower-grade finishes will show pitting and stiffness within a few seasons this close to the water. Spending a little more on marine-grade or coated hardware up front is cheaper than replacing seized components later.
Glass and Weatherstripping
Low-E coatings and argon-filled dual or triple-pane glass handle this area's mild but consistently damp climate well — they cut condensation risk on cold, wet mornings, which is common in Whatcom County winters. Weatherstripping should be a compression-style gasket rated for repeated wet-dry cycling, not a foam strip that compresses permanently after a season or two.
Our Process for a Grandview New-Build Job
Working new construction means coordinating with a builder or general contractor's schedule, not just showing up with windows. Here's how that typically goes:
- Plan review — we check window schedules and rough opening sizes against the actual framing before ordering anything
- Site coordination — install timed to follow sheathing and house wrap, ahead of siding, so flashing integration happens in the correct order
- Install — full flashing and sealing sequence as outlined above, on every opening, no shortcuts on units that "look fine without it"
- Walkthrough — we check operation, weatherstripping seat, and sightlines with the builder or homeowner before siding closes everything up
- Documentation — noting what was installed and where, useful for warranty claims and for anyone doing future work on the home
Why a Local Crew Matters More Than It Sounds Like It Should
A crew that only occasionally works Whatcom County treats every job as a first attempt at reading local conditions. A crew that regularly works Blaine and the Grandview area already knows which elevations catch the worst of the wind-driven rain, how the local building department wants flashing details documented, and how aggressively moss will move in on a north-facing wall that stays shaded most of the year. That familiarity shows up in fewer callbacks and fewer surprises once the home has been through its first few wet seasons.
It also matters for coordination. New-construction window work has to slot into a builder's schedule between framing and siding, often with narrow windows of dry weather to work in. A crew used to this area's weather patterns plans around that instead of getting caught mid-install when a rain system rolls in off the water.
Cost Factors to Expect
Every new build is different, so we won't quote invented numbers here — but these are the factors that actually move the price on a Grandview job:
| Factor | Why It Affects Cost |
|---|---|
| Number and size of openings | More units and larger glass area mean more material and labor |
| Frame material choice | Vinyl, fiberglass, and wood-clad carry different unit costs |
| Elevation exposure | Walls facing prevailing wind and rain may warrant upgraded flashing detail or hardware |
| Access and scheduling | Coordinating tightly with a builder's timeline can affect crew scheduling |
| Glass package | Low-E coatings, argon fill, and triple-pane options add cost but improve comfort and durability |
A Practical Checklist Before Windows Go In
- Confirm rough openings match window schedule dimensions exactly
- Verify house wrap or weather barrier is installed and ready for flashing integration
- Check that sill areas are framed to allow a properly sloped pan flashing
- Choose frame material and hardware finish with salt air exposure in mind, especially on water-facing elevations
- Confirm glass package suits both energy performance and condensation control for this climate
- Schedule installation with enough dry-weather buffer for flashing and sealants to cure properly
Get a Straightforward Estimate
If you're building in Grandview or elsewhere near Blaine and want new-construction windows installed by a crew that already understands what this county's salt air, driving rain, and moss season demand, we're glad to walk the plans with you. Fill out the form below for a free, no-pressure estimate — we'll talk through window selection, sequencing with your builder, and what a correct installation looks like for your specific site.