 Blaine
 Building New in Dakota Creek: Why Window Installation Isn't an Afterthought
If you're framing a new home in the Dakota Creek area near Blaine, the windows are one of the few components that have to perform correctly on day one and keep performing for decades without anyone opening up the wall to check on them. Once siding, trim, and interior finish go on, a poorly installed window becomes a hidden problem — and in this part of Whatcom County, "hidden problem" usually means water finding its way behind the weather-resistive barrier long before anyone notices a stain.
Dakota Creek sits close enough to the water that salt-laden air, wind-driven rain, and a long stretch of damp, low-light months are just part of the deal. New-construction window installation here isn't about picking a good-looking window and nailing it in — it's about integrating that window into the building envelope so the wall assembly sheds water the way it was designed to, from the first storm the house sees.
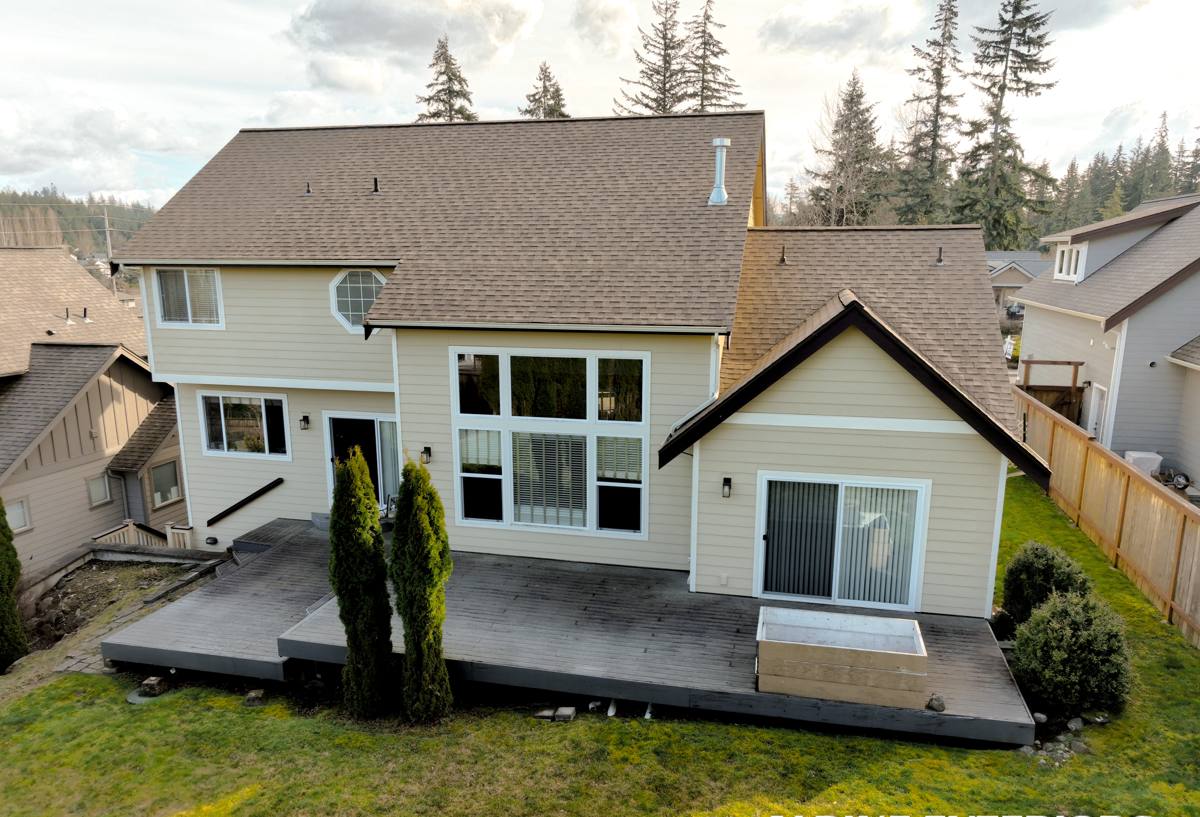
What the Local Climate Actually Does to a New Build
Whatcom County's marine climate is generally mild, but mild doesn't mean gentle on materials. A few specific conditions matter for window installation in particular:
- Salt-influenced air — corrodes unprotected fasteners, cheap cladding, and exposed hardware faster than an inland install would see.
- Driving, wind-pushed rain — rain here doesn't just fall straight down; it gets pushed sideways into wall assemblies, which puts real pressure on flashing details and sealant joints.
- Long moss and mildew season — extended damp, low-sun stretches keep exterior surfaces wet longer, which is hard on any trim or sill detail that traps moisture instead of shedding it.
- Temperature swings between summer and winter — enough to matter for frame material choice and how sealants are expected to move over time.
None of this means a house near Dakota Creek needs exotic materials. It means the installation details — flashing sequence, sill pan design, fastener selection, sealant placement — have to be done right the first time, because this climate will find every shortcut eventually.
New Construction vs. Retrofit: A Different Job Entirely
New-construction windows have a nailing fin that gets integrated directly into the wall assembly before siding goes on. That's a fundamentally different job from a retrofit replacement, which works around existing finished walls. On a new build, we're not just setting a window — we're building the water management system for that opening from the framing outward.
Why This Matters for a Dakota Creek Build
Because the window opening is being built from scratch, there's no excuse for a bad flashing job. Every layer — sill pan, side flashing, weather-resistive barrier, nailing fin integration, head flashing — gets installed in the correct shingle-lap order so water is always directed outward and downward, never trapped behind the barrier. Get this sequence wrong on a new build, and you've built a leak into the house that won't show up until it's already caused rot.
What a Correct New-Construction Window Install Involves
Sill Pan and Sloped Sill Detail
Every rough opening should get a sloped sill pan — not just a flat strip of tape — so that any water that gets past the window (and eventually, some will, even on a perfect install) has somewhere to go besides the framing. This is one of the most-skipped details on production builds, and it's the one that matters most in a wind-driven-rain climate.
Flashing Sequence
Flashing goes on in strict shingle-lap order: sill first, then jambs, then the window itself, then head flashing last, with the weather-resistive barrier integrated at each layer so water always laps over the layer below it. Reversing this order — even by one layer — creates a spot where water gets funneled behind the barrier instead of over it.
Nailing Fin and Fastening
The nailing fin has to be fully and evenly fastened per the manufacturer's schedule — not just tacked at the corners. Under-fastening lets the frame flex under wind load, which stresses the seal around the glass and the sealant joints over time. In a location that sees real wind off the water, this isn't a cosmetic detail.
Sealant Strategy
Sealant is a backup to good flashing, not a substitute for it. We use it at specific joints — never as a way to paper over a flashing shortcut — and we pay attention to compatibility between the sealant, the window frame material, and the WRB so nothing degrades the others over time.
Choosing a Frame Material for This Climate
There's no single "right" window brand or material for every new build — it depends on budget, design goals, and how the homeowner wants to handle long-term upkeep. What matters is understanding the honest trade-offs for a salt-air, high-moisture environment before you commit.
| Frame Material | Salt Air / Moisture Behavior | Maintenance | General Cost Tier |
|---|---|---|---|
| Vinyl | Doesn't corrode; performs well in coastal-influenced air | Low — no painting or sealing needed | Lower to mid |
| Fiberglass | Very stable dimensionally, resists moisture-driven expansion/contraction well | Low | Mid to higher |
| Aluminum-clad wood | Good exterior protection if cladding and seams stay intact; wood core still needs a well-sealed exterior | Moderate — exterior is low-maintenance, but any breach in the cladding needs prompt attention | Higher |
| Bare wood | Requires diligent finish maintenance to resist damp-season moisture uptake | High — regular refinishing expected | Varies |
For most new builds in this area, vinyl or fiberglass frames offer the best combination of moisture resistance and low upkeep, especially on elevations that take the brunt of driving rain. Wood and clad-wood windows can absolutely work here too — they're just a different maintenance commitment, and we'll walk through that honestly rather than talk you into more upkeep than you're expecting.
Our Process for a New-Construction Window Install
- Rough opening review — we check that openings are square, correctly sized, and properly sheathed before any window goes near them.
- Sill pan and flashing plan — flashing details get planned per opening, accounting for which elevations take the most weather exposure.
- WRB integration — the weather-resistive barrier is sequenced with the flashing so every layer laps correctly, top to bottom.
- Window set and fastening — windows are set level, plumb, and square, then fastened to the manufacturer's full schedule.
- Head flashing and sealant — head flashing goes on last over the nailing fin, with sealant placed only where it belongs in the system.
- Final check — we verify operation, sweep clearances, and confirm nothing was compromised before siding crews close the wall.
Because we work regularly in the Dakota Creek and greater Blaine area, we already know which elevations on a typical lot take the worst of the wind-driven rain and adjust flashing detail accordingly — that's not something you get from a crew installing windows in this climate for the first time.
Moss, Mildew, and Long-Term Maintenance
A long moss season doesn't just affect roofs — it affects anything horizontal or shaded near a window, including sills, trim, and any ledge where organic debris can sit and hold moisture. Good installation reduces this risk by making sure sills slope properly and trim doesn't create flat spots where water and debris collect. But some ongoing homeowner maintenance still matters:
- Keep sills and trim clear of leaf and needle debris, especially heading into fall and winter.
- Rinse salt residue off exterior frames periodically if the lot has direct water exposure.
- Check exterior caulk joints annually — sealant is a wear item, not a permanent fix.
- Watch for any soft spots in wood trim near windows during the wettest months.
Mistakes We See on New Builds — and Why They Matter
Most window problems we get called to fix on newer homes trace back to the same handful of installation shortcuts: skipped or flat sill pans, flashing installed out of sequence, sealant used to compensate for a missing flashing layer, or under-fastened nailing fins. None of these show up on a walkthrough. They show up two, five, or ten years later as soft trim, stained drywall, or a window that's harder to operate because the frame has racked slightly under wind load. On a new build, the cost of doing it right the first time is a fraction of the cost of opening up a wall later to fix water damage.
Why Hiring a Crew That Already Works Dakota Creek Matters
Window installation code and manufacturer instructions are the baseline everywhere. What changes by location is judgment — how much margin to build into flashing details on a lot with more wind exposure, which elevations need extra attention, and what "normal" wear looks like in this specific climate versus a drier inland build. A crew that regularly works new construction around Blaine and the rest of Whatcom County has already seen how these homes hold up a few winters in, and builds accordingly instead of guessing.
What to Ask Before You Sign a Window Contract
Whether you're a homeowner managing your own new build or working through a general contractor, it's worth confirming these details before window installation starts:
- Will sill pans be installed on every opening, and are they sloped?
- What's the flashing sequence, and does it follow correct shingle-lap order?
- Will the nailing fin be fastened to the full manufacturer schedule?
- How is the weather-resistive barrier integrated at each window opening?
- What warranty applies to the installation itself, separate from the window manufacturer's product warranty?
- Has this crew installed windows in this specific area before, and can they speak to local wind and rain exposure?
If you're planning a new build in the Dakota Creek area and want windows installed correctly the first time, we're happy to walk the plans with you and provide a free, no-pressure estimate. There's a form below — reach out and we'll go from there.