 Blaine
 Building New in California Creek Means Building for the Weather You'll Actually Get
If you're framing a new home or addition in the California Creek area outside Blaine, you're building close to open water and low-lying farmland with almost nothing to slow the wind down. That combination brings salt-laden air off Semiahmoo Bay and Drayton Harbor, long stretches of driving rain pushed sideways by wind, and a moss and mildew season that can run eight months or more in a wet year. Windows installed correctly at framing stage are one of the best investments you can make in a new build, because you only get one clean shot at doing the flashing and weather barrier integration right before siding closes everything up.
New-construction windows are a different job than replacing an old window in an existing wall. They're installed before the exterior finish goes on, which is actually an advantage — it means we can build the water management layer from the sheathing outward instead of working around finished siding and trim. Done right, that layered approach is what keeps wind-driven rain and salt moisture out of the wall cavity for the life of the house.
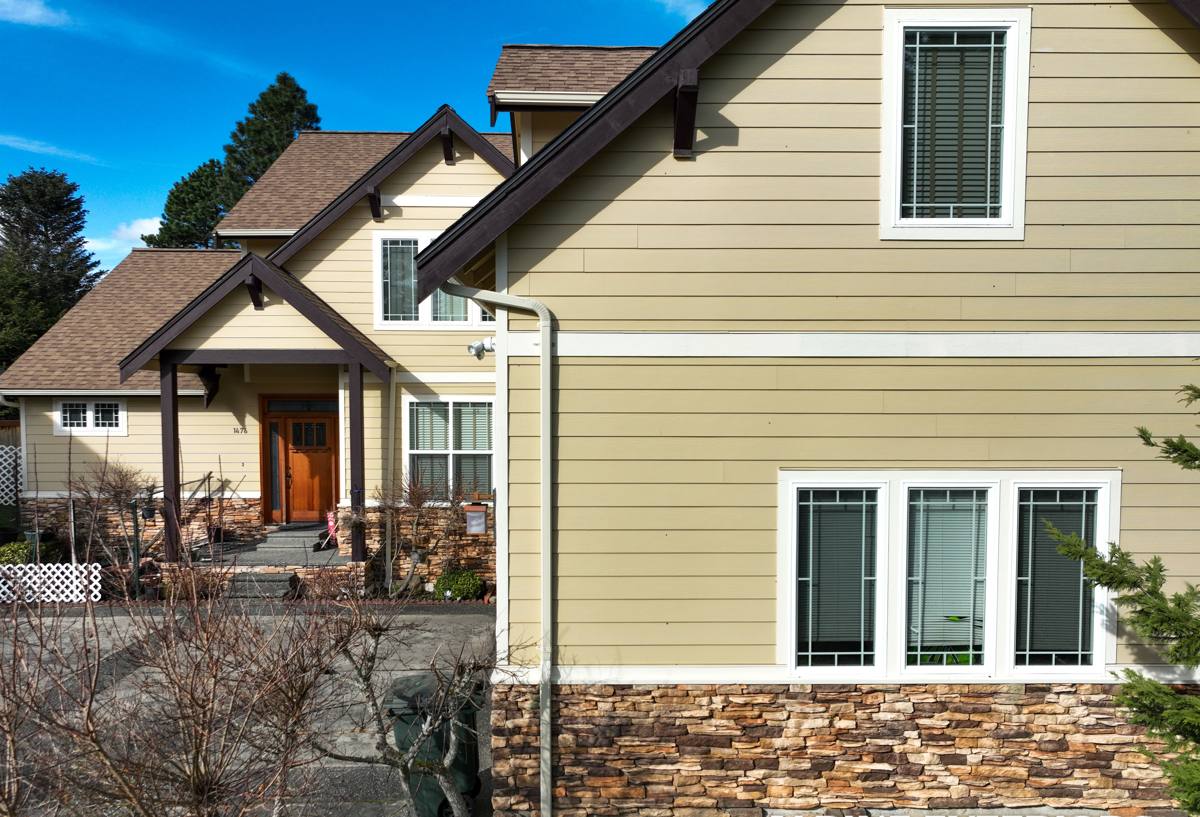
Why Whatcom County's Coastal Exposure Changes the Install
Blaine sits right on the water at the top of Whatcom County, and California Creek's open, low-lying terrain gives storms nothing to break against before they hit a house. A few things that matter specifically here:
- Salt air accelerates corrosion on unprotected fasteners, hardware, and some metal flashing — material choice and fastener spec matter more here than a few miles inland.
- Wind-driven rain doesn't fall straight down — it hits window openings at an angle, which means head flashing and sill pans have to handle water moving sideways and even slightly upward under wind pressure, not just gravity drainage.
- Long damp seasons feed moss and mildew on sills, trim, and anywhere water sits instead of draining. A window opening that traps moisture instead of shedding it will show organic growth well before the glass or frame itself shows any wear.
- Temperature swings between still, cold mornings and wet, windy fronts stress caulk and sealant joints, so the mechanical parts of the install — flashing laps, pan slope, backer rod and sealant depth — have to do the real work rather than relying on sealant alone.
What a Correct New-Construction Window Install Actually Involves
Sill Pan Flashing First
Every rough opening should get a sloped sill pan, not just a bead of sealant across the bottom of the framing. The pan gives any water that gets past the window a defined path back out to the exterior instead of a place to pool against the sheathing.
Weather-Resistive Barrier Integration
The window's nailing fin has to be woven into the house wrap in the correct shingle-lap sequence — sill first, then the sides, then the head flashing lapped over the top. Get this order wrong and you've built a funnel that channels water into the wall instead of around it. This is the single most common mistake we see when we're called in to fix moisture problems in newer homes.
Head Flashing and Drip Caps
Above every opening, a head flashing or drip cap needs to kick water forward, away from the wall, before it can run down and find the top of the window frame. On a site exposed to steady wind off the water, this detail is what keeps rain from being driven up and under an undersized cap.
Shimming, Squaring, and Fastening
The window has to be shimmed plumb, level, and square in the opening before it's fastened, and fastened per the manufacturer's schedule — not just wherever seems convenient. An out-of-square frame stresses the sash and seals from day one, which shows up years later as air leaks or a sash that's hard to operate.
Interior and Exterior Sealant
Low-expansion foam or backer rod and sealant around the frame perimeter, sized correctly rather than overfilled, controls air leakage without bowing the frame. Exterior sealant joints get tooled and finished so they shed water instead of holding it against the trim.
Choosing Frame Material and Glass for This Site
There's no single "best" window for every new build — the right choice depends on budget, the home's exposure, and how much upkeep the owner wants to take on. A few honest trade-offs for a California Creek lot:
| Frame Material | How It Handles This Climate | Upkeep |
|---|---|---|
| Vinyl | Good moisture and salt resistance, no painting needed; performance varies by manufacturer quality | Low — occasional cleaning |
| Fiberglass | Very stable in temperature swings, strong resistance to warping and corrosion near salt air | Low |
| Aluminum-clad wood | Attractive interior wood look with a protective exterior shell, but clad seams need good detailing to keep coastal moisture out | Moderate — watch cladding seams and interior wood over time |
| Bare wood | Classic look, but the most exposed to rot and moss growth in a wet coastal climate without diligent maintenance | High |
For glass, we generally spec a Low-E coated, dual-pane unit with an argon fill as a baseline for new construction this close to the water — it cuts heat loss and condensation risk without adding real cost to a new build. On more exposed elevations facing the wind and open water, we'll sometimes discuss upgraded seal systems or impact-resistant glass, depending on the specific exposure of that wall.
What We Won't Do
We don't install window products with thin or unreinforced sill details on exposed coastal builds, and we won't caulk-and-hope a flashing detail that should be mechanically lapped. It costs a little more labor time to do the flashing sequence correctly, but it's the difference between a window opening that sheds water for decades and one that starts feeding rot and moss behind the trim within a few wet seasons.
How We Work With Builders and Owners in California Creek
Most of our new-construction window work here comes in one of two ways: as the window subcontractor working directly off the builder's plans and schedule, or as a standalone install for an owner-builder or addition project. Either way, the process looks the same:
- Plan review and rough opening check. We confirm rough openings match window schedule sizes before the windows are ordered, which avoids costly field modifications later.
- Site walk for exposure. We look at which elevations take the worst of the wind and rain off the water and flag any walls that warrant extra flashing detail or a heavier glass package.
- Coordinated install timing. Windows go in after sheathing and house wrap are up, but before siding — timed with the framer or GC's schedule so there's no gap that leaves the opening exposed to weather.
- Flashing and install per manufacturer instructions, adapted for the coastal exposure details above.
- Final check and walkthrough confirming operation, seals, and flashing laps before siding crews close things up.
A Practical Checklist Before Siding Goes On
Whether we're doing your full window package or you're checking another crew's work, these are the things worth confirming before the wall gets covered up:
- Sill pan flashing is present and sloped to drain outward, not just caulked flat.
- House wrap laps are shingled correctly — sill, then jambs, then head, in that order.
- Head flashing or drip cap is installed and kicked away from the wall.
- Windows are shimmed plumb, level, and square, with fasteners per the manufacturer's schedule.
- Exterior sealant joints are tooled smooth, not left as a raised bead that traps water and debris.
- Weep holes at the sill are clear and unobstructed.
- Any exposed fasteners or hardware are corrosion-resistant, not standard interior-grade.
Why Local Experience on This Site Type Matters
A window can be installed "to code" and still fail early in a spot like California Creek if the crew doesn't understand how wind-driven rain and salt air actually behave on an exposed coastal lot in northern Whatcom County. We've worked enough new builds and additions in and around Blaine to know which elevations tend to take the worst weather, where moss shows up first on a poorly detailed sill, and which flashing shortcuts cause callbacks a year or two down the road. That's the kind of judgment that doesn't show up on a spec sheet — it comes from doing this work on this coastline, house after house.
If you're framing a new home, an addition, or a shop with living space near California Creek and want the window package done right the first time, we're happy to walk the plans with you or your builder and put together a straightforward estimate — no pressure, no obligation.