 Blaine
 New-Construction Windows for the Sumas Area
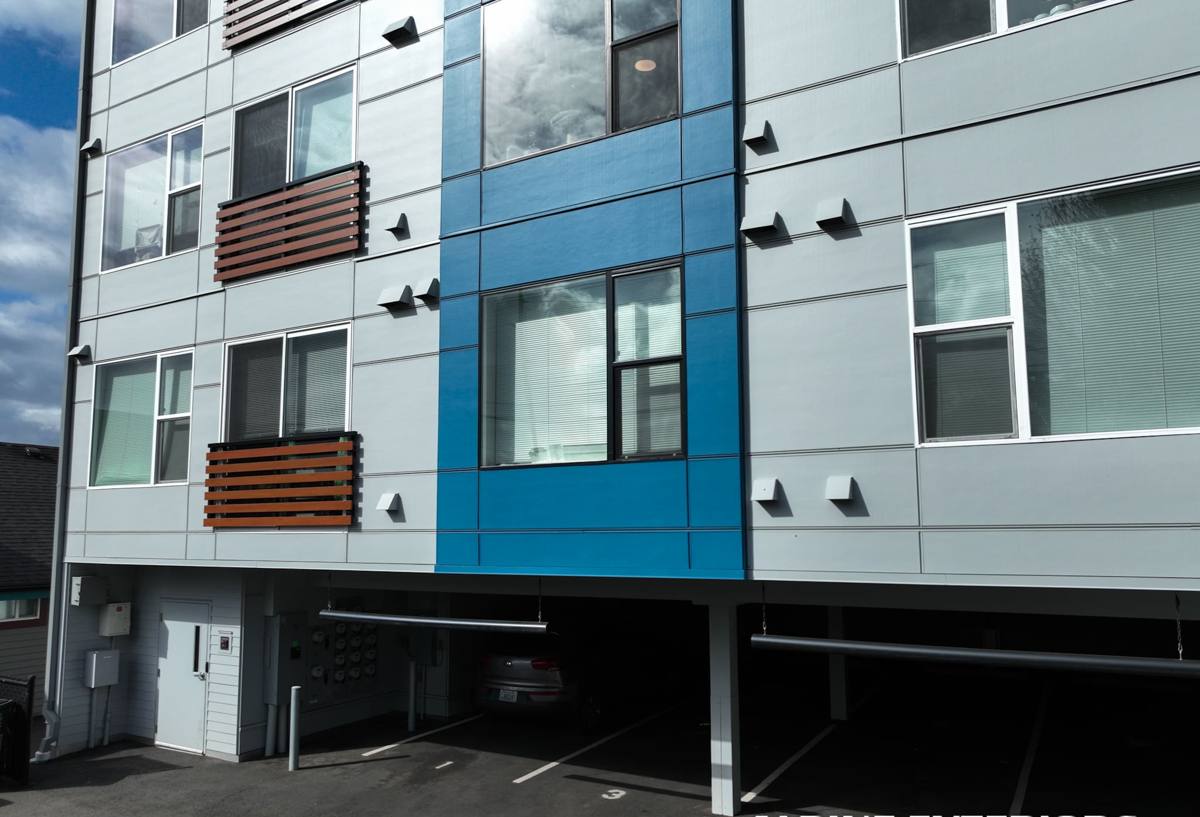
Putting windows into a new build is a different job than swapping out an old one. There's no existing opening to work around, no old flashing to inspect and correct — but that also means there's no room for shortcuts, because whatever gets built into the wall now is what that house lives with for the next 30-plus years. Around Sumas and the wider Blaine service area, that matters more than in a lot of places. This part of Whatcom County sees long stretches of driving, wind-pushed rain, a marine-influenced climate that keeps everything damp for months at a time, and a moss season that can run from fall through spring. Windows installed without the right flashing sequence and drainage details don't usually fail in year one. They fail in year five or six, quietly, behind the siding, and by the time anyone notices there's already rot to deal with.
Why New Construction Installation Is Its Own Skill
A lot of window problems we get called out to fix started as a new-construction install that looked fine on move-in day. The issues were built in from the start — just invisible until the wall got wet enough, often enough, for long enough.
Flashing and the Weather-Resistive Barrier
Every window opening is a hole in the building's water management system. The window itself is not the primary defense against water — the flashing and the weather-resistive barrier (WRB) behind the siding are. The window has to be integrated into that system in the right order: WRB first, sill pan flashing next, window set into the pan, side flashing lapped over the nailing flange, then head flashing lapped over the WRB above. Skip a step or reverse the order and water that gets past the siding — which it will, eventually, in a climate like this — has a path straight into the wall cavity instead of a path back out.
Sill Pan Flashing
The sill pan is the detail most often shortcut on production builds, because it's slower to do right and nobody sees it once the siding goes up. A proper sill pan slopes slightly to the exterior and has back-dam protection so any water that does get past the window — from a wind-driven rain event, a failed seal down the road, condensation — drains back outside instead of soaking into the framing. On a house that's going to sit through decades of Whatcom County winters, this one detail does more long-term work than almost anything else in the opening.
What Local Weather Actually Asks of a Window
Windows sold nationally are rated for a range of conditions, but not every rated window is a good fit for every climate. For new construction in the Sumas and Blaine area, we're weighing a few things every time:
- Wind-driven rain resistance — much of this area sits in open, rural exposure with fewer windbreaks than a dense neighborhood, so rain doesn't just fall, it gets pushed sideways into the wall.
- Condensation resistance — persistent regional humidity and cool interior-to-exterior temperature swings mean a window with a poor condensation resistance rating will sweat on the inside, which shows up as fogged glass, wet sills, and eventually mold or wood rot at the sill and trim.
- UV and moisture exposure on finishes — long damp seasons feed moss and algae growth on any surface that stays shaded and wet, including window trim, sills, and cladding tie-ins right at the opening.
- Freeze-thaw cycling — this area gets more cold snaps than the immediate coastline, and sealants and glazing that aren't rated for it can crack or lose adhesion faster than they would closer to Bellingham Bay.
None of this means exotic products. It means picking mainstream, well-rated windows and installing them with a flashing and sealant approach that matches the exposure the house will actually see, not just the minimum the code requires.
Window Materials: What We Install and Why
For new construction, the frame material affects long-term performance as much as the glass package does. Here's how the common options stack up for this climate:
| Material | Moisture Behavior | Maintenance | Best Fit |
|---|---|---|---|
| Vinyl | Won't rot; can expand/contract with temperature swings | Low — no painting, occasional cleaning | Most budgets; solid performer if installed with proper flashing |
| Fiberglass | Very stable in wet, variable climates; minimal expansion | Low | Homeowners wanting a longer-term, lower-movement option |
| Wood-clad | Good insulation, but exterior cladding seams need careful sealing | Moderate — clad exterior, wood interior needs periodic attention | Homeowners prioritizing interior wood appearance over lowest maintenance |
| Aluminum | Poor thermal performance, prone to condensation in this climate | Low, but condensation issues offset the savings | Not something we recommend for this region's humidity and temperature swings |
We don't push any one brand or material as "the" answer. What we push is matching the product to how wet and how exposed the specific lot is, and then installing it so the product's own warranty terms are actually honored — most manufacturer warranties require flashing and sealant methods that match their install guides, and a rushed job can quietly void coverage before the homeowner ever knows it existed.
Our New-Construction Window Process
On a new build, window installation has to sync with the framing crew, the WRB installer, and whoever's doing siding — it's not a standalone task. Our sequence, in order:
- Rough opening check. Confirm the opening is square, correctly sized, and structurally ready before anything gets flashed.
- WRB integration. Weather-resistive barrier is run and lapped correctly at the opening before any window-specific flashing goes on.
- Sill pan flashing. Sloped, back-dammed sill pan installed and tested for drainage before the window ever goes in.
- Window set and shim. Window is set plumb, level, and square, with shims placed to manufacturer spec so the frame isn't stressed.
- Fastening. Nailing flange or fastening method matched to the manufacturer's install instructions — not just "however the crew usually does it."
- Side and head flashing. Flashing tape lapped in the correct shingle-style order so water always drains outward and down, never inward.
- Interior air sealing. Low-expansion foam or sealant at the interior gap, sized correctly so it doesn't bow the frame.
- Final inspection before siding. Every opening checked before the siding crew closes it up — this is the last point where a flashing mistake is cheap to fix.
Energy Code and Egress: The Boxes That Have to Be Checked
Washington's state energy code sets minimum performance requirements for new-construction glazing — U-factor and solar heat gain coefficient targets that vary by how much window area a home has relative to its floor area. On builds in Whatcom County, we size and spec windows to meet these targets as part of the plan review your builder or designer already has to submit, not as an afterthought bolted on later.
Egress is the other non-negotiable: any bedroom needs at least one window that meets minimum clear opening width, height, and area, with a sill height low enough for someone to actually get out in an emergency. On a new build this is easy to get right if it's planned from the start — it's expensive to fix after drywall is up. We flag egress sizing before the windows are ordered, not after.
Mistakes We See on New-Construction Jobs
Most of the water damage we get called to repair in newer homes traces back to a handful of repeatable mistakes made during the original install:
- Sill pan skipped or replaced with a bead of caulk — caulk is a seal, not a drainage plane, and it fails silently.
- Flashing installed in the wrong order (head flashing under the WRB instead of over it, for instance), which routes water into the wall instead of away from it.
- Nailing flange fastened straight through siding material instead of to structural sheathing, leaving the window loose over time.
- Foam sealant overfilled at the interior gap, bowing the frame and creating a permanent air leak at the corners.
- Window ordered with a glazing package that doesn't match the exposure — south and west-facing openings in open exposure need better wind-driven rain performance than a sheltered north wall.
What Affects the Cost
| Factor | Why It Matters |
|---|---|
| Number and size of openings | More and larger windows mean more flashing detail work and material, not just more units |
| Frame material and glazing package | Fiberglass and higher-performance glazing cost more upfront but hold up better long-term in this climate |
| Exposure of the elevation | Walls facing prevailing wind-driven rain need more careful, sometimes slower, flashing work |
| Coordination with other trades | Scheduling around framing and siding crews affects labor efficiency |
| Site access and staging | Rural lots around Sumas sometimes add setup time compared to in-town infill lots |
We'd rather walk a specific set of plans with you and give a real number than throw out a range that doesn't mean much until we've seen the openings.
Why Hire a Crew That Already Works This Area
A window installed correctly on paper can still be wrong for the site it's on. Crews that don't regularly work Whatcom County's coastal-influenced weather sometimes install to a generic standard that holds up fine in a drier climate and falls short here — under-specced condensation resistance, sealants that aren't rated for the freeze-thaw swings near the border, or flashing sequences that work until the first real wind-driven rain event tests them. We work new-construction openings in and around Blaine and Sumas regularly enough to know which details matter for this specific stretch of weather, and we build every opening as if it has to survive the wettest winter this area gets, not the average one.
If you're planning new construction in the Sumas area and want windows installed right the first time — flashed, sequenced, and specced for this climate — we're happy to walk the plans with you. Reach out for a free, no-pressure estimate using the form below.