 Blaine
 Siding Installation in Birch Bay: What This Coastline Actually Demands
Birch Bay sits right on the water, and that changes what a siding job needs to hold up against compared to homes even a few miles inland. Salt-laden air moves off the bay and settles on everything it touches, wind-driven rain gets pushed sideways into wall assemblies during winter storms, and the shaded, damp stretches of the neighborhood stay wet long enough each year to grow moss on anything that doesn't shed water well. A siding installation here isn't just a cosmetic upgrade — it's the exterior envelope that decides whether the framing behind it stays dry for the next 30 years or starts absorbing moisture nobody notices until there's a soft spot near a window trim.
We install James Hardie fiber cement siding exclusively, and Birch Bay is one of the areas where that choice matters the most. Fiber cement doesn't rot, it doesn't feed moss and algae the way wood-based products do, and it's engineered to take on coastal wind and moisture cycles without the maintenance treadmill that comes with other siding materials in this exact setting.
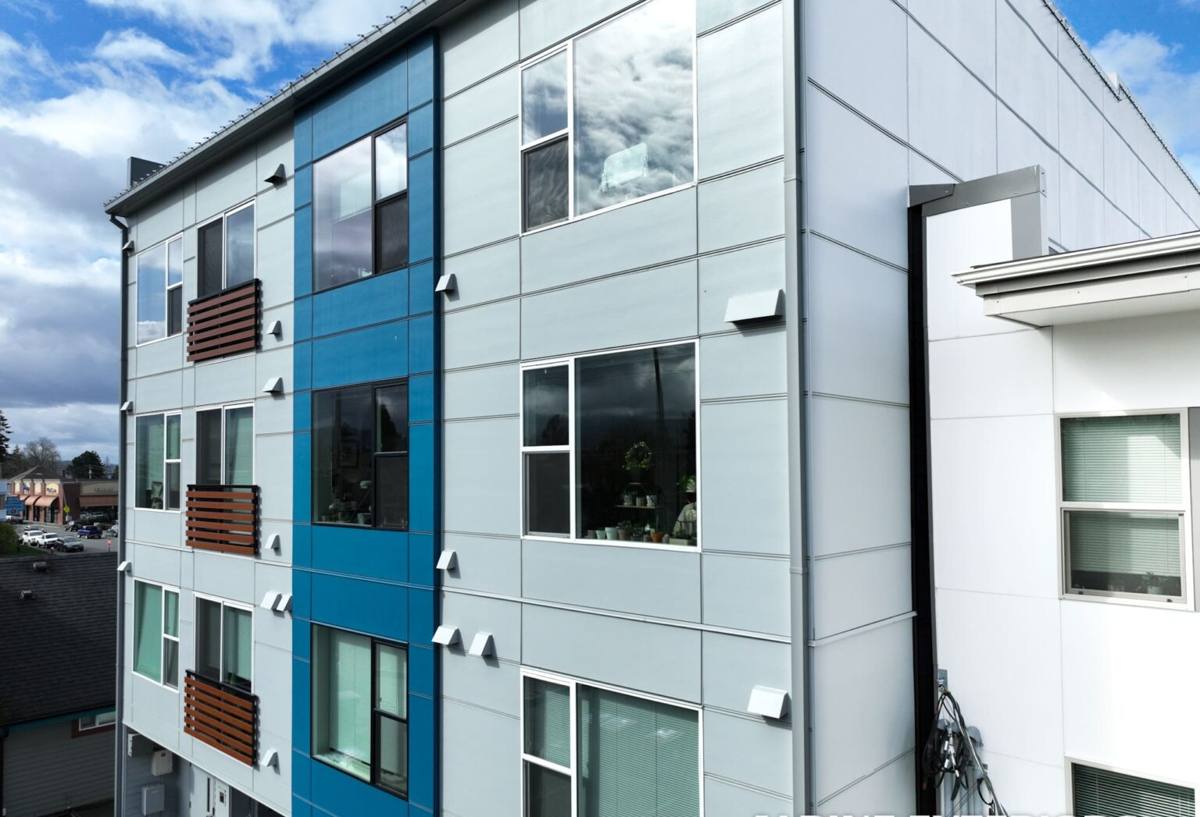
Why Birch Bay's Climate Is Harder on Siding Than It Looks
Salt Air and Corrosion
Salt spray off Birch Bay and the Strait of Georgia doesn't just affect metal fasteners and flashing — it accelerates the breakdown of paint films and wood fibers on anything installed without that exposure in mind. Over years, salt deposits hold moisture against a wall surface longer than plain rainwater would, which is part of why homes closer to the water tend to show siding wear faster than homes set back from the shoreline.
Driving Rain
Whatcom County storms coming off the water don't fall straight down — they arrive at an angle, pushed by wind that has a clear run across open water before it hits the bluff and the neighborhoods along it. That means seams, laps, and butt joints on a home's siding take on more direct water pressure here than they would on a sheltered inland lot, and any weak point in the installation — a gap, a poorly flashed joint, a nail set wrong — becomes a path for water intrusion faster.
Moss Season
Western Whatcom County's wet season stretches long, and shaded north- and west-facing walls in Birch Bay can stay damp for weeks at a stretch. Moss and algae need exactly that: shade, moisture, and a surface they can grip. Wood-based sidings and their coatings give moss something to hold onto; a dense, factory-finished fiber cement surface gives it far less to work with.
What a Correct Siding Installation Involves
The material is only part of the equation. A siding job that's actually built for Birch Bay's exposure comes down to what happens underneath and around the panels, not just the panels themselves.
- Weather-resistive barrier: a continuous, properly lapped water barrier behind the siding, installed so water is directed out and down rather than trapped against the sheathing.
- Rainscreen or drainage gap: a small air gap behind the siding lets any moisture that does get past the surface dry out instead of sitting against the wall — increasingly standard practice on coastal-exposed homes.
- Flashing at every penetration: windows, doors, hose bibs, light fixtures, and vents each need proper flashing detail; this is where the majority of real-world water intrusion problems start.
- Correct fastening: James Hardie specifies fastener type, spacing, and placement by product line and exposure category — corrosion-resistant fasteners set correctly, not just "close enough."
- Proper clearances: siding held up off decks, patios, and grade per manufacturer spec so it isn't sitting in standing water or snow load against the bottom course.
- Caulking and sealant only where specified: over-caulking traps moisture in just as often as it keeps it out; a correct install uses sealant at the joints designed for it and lets engineered laps do the rest of the work.
Skip any one of these steps and the siding material — even a good one — is working against a compromised system. This is why we treat installation quality as inseparable from product choice; a premium material installed loosely will fail faster than a mid-grade material installed to spec.
Why James Hardie Is the Only Product We Install Here
We don't install LP SmartSide, vinyl, Cemplank, Allura, primed spruce, or cedar, and Birch Bay's exposure is a big part of why that standard exists. Each of those products has real strengths, but each also comes with a trade-off that shows up faster in a salt-air, high-rain, moss-prone environment than it would somewhere drier and more sheltered.
| Material | What it does well | Trade-off in Birch Bay's climate |
|---|---|---|
| Vinyl | Low upfront cost, no painting needed | Can warp or crack in temperature swings and coastal wind; seams and panels give moss and grime more surface to collect on over time |
| LP SmartSide (engineered wood) | Workable, budget-friendly, wood-like look | Wood-strand core is more sensitive to sustained moisture exposure than fiber cement; edge sealing and maintenance schedule matter a lot in a wet climate |
| Cedar | Natural appearance, long regional tradition | Needs ongoing refinishing and moisture management; shaded, damp walls in Birch Bay are prone to moss growth on untreated or under-maintained wood |
| Primed spruce | Lower material cost | Priming is not a finished coat; performs poorly without prompt, full painting and consistent upkeep in a wet marine climate |
| Cemplank / Allura (other fiber cement brands) | Similar base material category to Hardie | We standardized on one manufacturer's engineered product line, factory finish process, and warranty structure rather than mixing brands |
| James Hardie fiber cement | Non-combustible, engineered for climate, factory-baked ColorPlus finish, strong transferable warranty | Higher material cost than vinyl; requires correct installation to realize its full lifespan |
James Hardie's HZ5 product line in particular is engineered for climate zones with sustained moisture exposure, which fits the Pacific Northwest coastal band Birch Bay sits in. The ColorPlus factory finish is baked on under controlled conditions rather than field-painted, which gives it more consistent resistance to fading and moisture than a site-applied coat — a real advantage when a wall is going to spend a lot of its life damp and shaded.
Our Process for a Birch Bay Installation
1. On-Site Assessment
We walk the home and look specifically at exposure: which walls face open water and prevailing wind, where moss or staining is already showing, where the current siding or trim shows signs of trapped moisture, and where drainage around the foundation and grade could be affecting the wall assembly.
2. Tear-Off and Sheathing Check
Once the old siding comes off, we inspect the sheathing underneath. This is the point where hidden moisture damage from a previous installation typically shows up, and it needs to be addressed before anything new goes back on — covering a compromised sheathing with new siding just hides the problem again.
3. Water Barrier and Drainage Plane
We install a continuous weather-resistive barrier and drainage gap sized for the wall assembly, lapped correctly from the bottom up so water sheds outward at every course.
4. Flashing Detail
Every window, door, and penetration gets flashed before siding goes over it — this step is easy to rush and is where most long-term leaks originate if it's skipped or done loosely.
5. Siding Installation to Manufacturer Spec
Panels or planks go on with the fastener pattern, spacing, and clearances James Hardie specifies for this exposure category, not a generalized approach used everywhere regardless of climate.
6. Final Walkthrough
We walk the finished job with the homeowner, checking trim lines, caulking points, and clearances, and go over what routine upkeep (if any) the specific product line needs going forward.
What Homeowners Should Ask Before Hiring a Siding Crew in Birch Bay
Coastal siding work rewards experience with this exact exposure. A crew that mostly works drier, inland jobs may not default to rainscreen detailing, coastal-grade fastener selection, or the flashing discipline a bay-front wall actually needs. Before hiring, it's worth asking directly:
- Do you install a drainage gap or rainscreen behind the siding on homes with direct water or wind exposure?
- What fastener type and spacing do you use, and is it matched to the manufacturer's spec for this exposure category?
- How do you flash windows, doors, and other penetrations before siding goes on?
- Have you worked on other homes in Birch Bay or similarly exposed parts of Whatcom County?
- What does the manufacturer's warranty actually cover, and does it stay valid if a different crew does future repairs?
A contractor who can answer these without hesitation has done this kind of job before. Vague answers, or a quote that doesn't mention flashing and drainage detail at all, are a sign the crew is treating a coastal installation the same as an easy inland one.
Cost Factors for a Birch Bay Siding Installation
Every home is different, but the same handful of factors tend to move the price on a project in this area:
| Factor | Why it matters here |
|---|---|
| Tear-off condition | Homes with hidden moisture damage from a prior installation need sheathing repair before new siding goes on |
| Wall exposure | Walls facing open water or prevailing wind may warrant additional drainage or flashing detail |
| Home size and complexity | Dormers, multiple gables, and cutouts around windows and doors add labor and flashing points |
| Product line and finish | James Hardie offers multiple plank profiles, panel styles, and ColorPlus finish options at different price points |
| Access and site conditions | Sloped lots, limited staging area, or landscaping close to the home can affect labor time |
We provide a written estimate that breaks these factors down for the specific home, rather than a flat per-square-foot number that doesn't account for what a given property actually needs.
Signs Birch Bay Homeowners Should Watch For
Between installations, a few warning signs are worth checking on a coastal home before they turn into bigger repairs:
- Moss or dark streaking concentrated on shaded, north- or west-facing walls
- Soft spots, bubbling, or visible warping near window and door trim
- Caulking that has cracked, shrunk, or pulled away from joints
- Visible corrosion or staining around fasteners or metal flashing
- Paint or finish that's fading unevenly, faster on water-facing walls than sheltered ones
None of these mean a full replacement is automatically needed, but they're worth a professional look before the next wet season, especially on a bay-facing wall.
Get an Estimate for Your Birch Bay Home
If you're weighing a siding installation for a home in Birch Bay, we're glad to come take a look, walk the exposure specific to your property, and give you a straightforward, no-pressure estimate for a James Hardie installation built for this stretch of coastline. Use the form below to get started.