 Blaine
 New-Construction Windows vs. Replacement Windows: Why the Difference Matters in Everson
A new-construction window is not the same product, installed the same way, as a replacement window. New-construction units come with a nailing fin around the frame and are meant to be set into a bare rough opening during framing, before the weather-resistive barrier (WRB) and siding go on. Replacement windows are built to slide into an existing frame with the exterior trim staying put. Mixing up the install method — or having a crew that mostly does retrofit work handle a new build — is where problems start.
On a new build near Everson, the window install becomes part of the wall's water management system. Once siding goes up, the flashing behind it is buried for the life of the house. If it's done wrong, nobody finds out until there's a stain on the drywall or rot in the sheathing years later. That's why we treat this as a sequencing job, not just a "set the window and caulk it" job.
What Salt Air, Driving Rain, and a Long Moss Season Actually Do to a Window Install
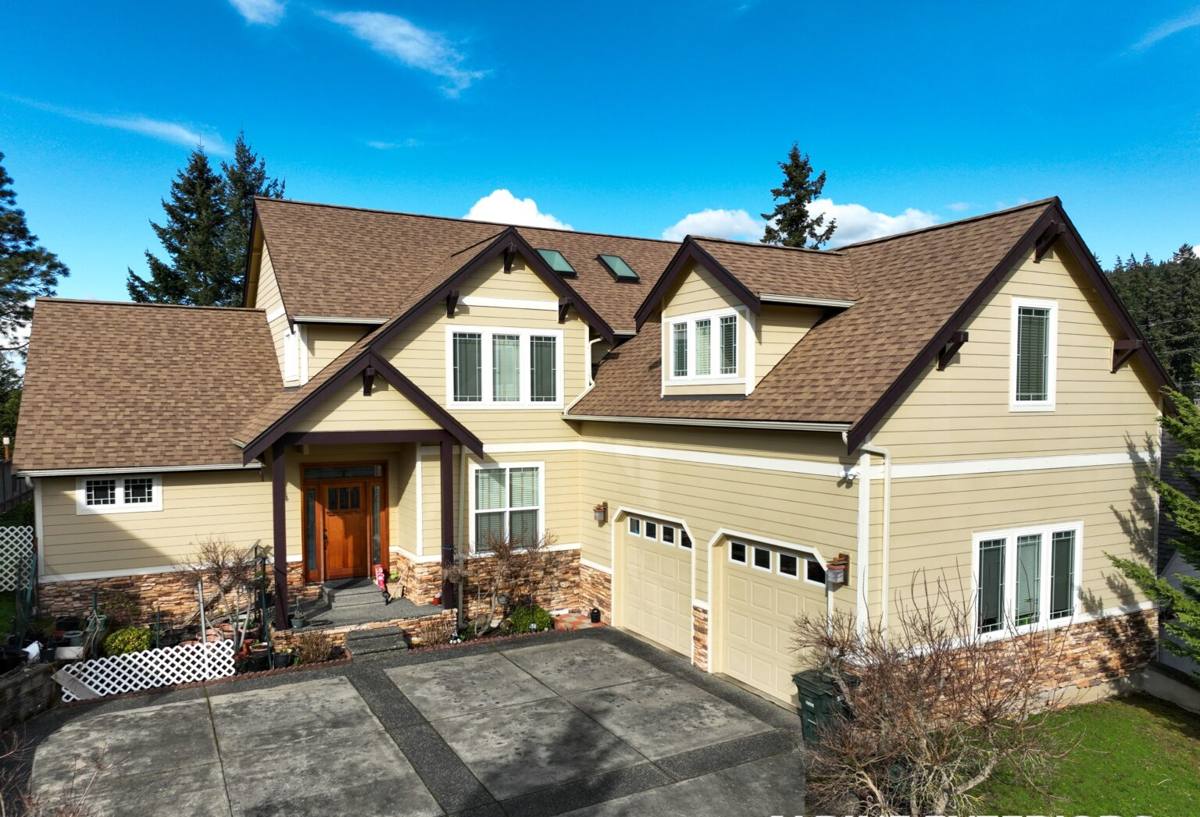
Whatcom County's marine climate is mild, but it is not gentle on a building envelope. Homes in and around Blaine and Everson sit close enough to Puget Sound and Drayton Harbor that salt-laden air is a real factor, not a talking point — exposed steel fasteners, uncoated hardware, and cheap corner keys corrode faster here than they would inland. Over ten or fifteen years that shows up as streaking, stuck hardware, and failed seals.
Driving rain is the bigger day-to-day test. Wind-driven rain events push water sideways against the wall, not just down, which means every lap and seam around a window opening has to shed water outward and downward with no dead-end for it to pool in. A install that would pass fine in a drier climate can leak here within a few storm seasons if the sill pan or head flashing isn't detailed correctly.
Then there's the long wet season that also grows moss on roofs, decks, and north-facing siding. It doesn't attack the window directly, but it's a sign of how long surfaces around the house stay damp in this region. Any small gap in the flashing has more time to let water in and less time to dry out before the next rain. That's the backdrop for every decision below.
The Flashing and Drainage Details That Make or Break the Job
Sill Pan and Back Dam
The sill of a new-construction opening should get a pan flashing with a back dam — a raised lip at the interior edge that stops any water reaching the sill from running inward toward the framing. Without a back dam, water that gets past the window's own weep system has nowhere to go but into the wall. This is one of the most commonly skipped details on production builds because it takes an extra ten minutes per window.
Head Flashing and the Drip Cap
Above the window, flashing needs to tuck under the housewrap above it and lap over the wrap below it — never the reverse. A drip cap or flashing tape at the head keeps water running down the face of the wall instead of finding the top edge of the nailing fin. Given how much wind-driven rain this area sees, we don't treat the head flashing as optional or "the siding crew's problem."
Housewrap Integration (Shingle-Lap Sequence)
Every layer around the window — sill tape, side flanges, housewrap, head flashing — has to lap the one below it like shingles on a roof, so gravity always carries water outward. Get the order backward at any one window and you've built a funnel instead of a drainage plane. We check this sequence on every opening before siding crews cover it.
Choosing a Frame Material for This Climate
There isn't one "correct" frame material for every new build, but the trade-offs matter more here than in a drier inland climate. This is a general guide to how the common options hold up near the water in Whatcom County.
| Frame Material | Corrosion/Salt-Air Resistance | Maintenance | Typical Cost Tier |
|---|---|---|---|
| Vinyl | Good — no metal to corrode, but hardware quality varies by manufacturer | Low; occasional track cleaning | Lower |
| Fiberglass | Very good — dimensionally stable, holds paint/finish well in wet cycling | Low; repaint or refinish only if desired | Mid to upper |
| Aluminum-clad wood | Good exterior protection, but any breach in the cladding exposes wood to moisture | Higher; sealant and cladding seams need periodic checks | Upper |
| Bare aluminum | Poor near salt air without marine-grade coatings | Higher; prone to pitting and oxidation over time | Lower to mid |
We're not going to tell you a certain brand or material is "the best" — that depends on your budget and the look of the build. What we will do is flag when a product's hardware or fastener spec is a poor match for a marine climate, and explain why, before it's installed instead of after.
Our New-Construction Window Installation Process
- Rough opening check — verify size, square, and plumb before the window ever shows up on site. Framing tolerances vary, and catching a problem here is cheap; catching it after the window is set is not.
- Sill pan and flashing membrane install — back dam and pan flashing go in first, tied into the WRB below.
- Dry-fit and shim — the window is set, leveled, and shimmed at the manufacturer's specified points so it isn't racked or bowed once fastened.
- Fastening through the nailing fin — following the manufacturer's fastener spacing and type, using corrosion-resistant fasteners given the local air.
- Flashing tape and head flashing — side and head flashing lapped in the correct shingle-style order over the nailing fin.
- Sealant per the manufacturer's schedule — sealed where specified, left open where a weep path needs to stay clear. Sealing every gap "just to be safe" can trap water instead of releasing it.
- Interior air seal — low-expansion foam or backer rod and sealant on the interior side for energy performance, separate from the exterior water management.
- Final check — confirm the window operates smoothly, the flashing sequence is intact, and everything is ready for the housewrap and siding crew to close it in.
Coordinating With Builders and Other Trades on an Everson Job Site
New-construction window work doesn't happen in isolation — it sits between the framing crew and the siding crew, and the timing has to line up. If we're installing too early, the WRB isn't ready to tie into. Too late, and we're holding up siding. On builds around Everson and the wider Blaine service area, we coordinate directly with the general contractor or homeowner-builder on scheduling, and we know the rough-opening habits of framing crews common to this area, which cuts down on surprises when the windows arrive.
We also account for Whatcom County's inspection process. Depending on the jurisdiction and permit type, a rough-in or weatherproofing inspection may happen before siding covers the flashing work. We plan our sequencing so that work is visible and correct at the point an inspector — or you — would want to check it, not rushed to get covered up.
What a Correct Installation Includes
- Rough opening verified square, plumb, and correctly sized before install
- Sill pan flashing with a back dam at every opening
- Head flashing lapped over the housewrap, not under it
- Manufacturer-specified fastener type, spacing, and shim points followed exactly
- Weep paths left clear — not fully caulked shut
- Interior air seal completed separately from exterior water management
- Windows operate smoothly with no racking after fastening
- Flashing sequence confirmed before siding crew covers it
Why a Crew That Already Works Everson Is Worth It
Anyone can install a window on a calm, dry day. The value of hiring a crew that already works the Everson and Blaine area is what happens when conditions aren't ideal — knowing which flashing details actually matter for wind-driven rain off the Sound, which fastener grades hold up under years of salt air, and how local framing crews typically build a rough opening so we're not guessing on site. We also have working relationships with builders in this area, which keeps scheduling honest and communication direct instead of routed through layers of subcontractors.
That local familiarity doesn't replace following manufacturer instructions and code — it just means fewer surprises and fewer callbacks once the siding is closed in around the windows.
After Move-In: Keeping Windows Sound in This Climate
Once the build is finished, upkeep is simple but worth doing given the local weather. Rinse window frames and tracks occasionally to clear salt film and grit, especially on homes closer to the water. Check exterior sealant lines once a year for cracking or gaps, since UV and constant wet-dry cycling break down sealant faster here than in drier climates. And keep gutters and nearby surfaces clear of moss and debris so runoff isn't sitting against the window head longer than it needs to.
If you're planning a new build or an addition near Everson or anywhere in the Blaine area and want windows installed the way they're supposed to be — flashed correctly, sequenced with the rest of the build, and matched to a frame material that makes sense for our climate — we're happy to take a look at your plans and offer a free, no-pressure estimate.